
Infantry · April 1966 – May 1967, February 1969 – February 1970
5th Battalion, Royal Australian Regiment
- Helicopter missions
- 99
- Contacts
- 596
- Operations
- 51
- Dead
- 52
- Australian wounded
- 328
- Enemy killed
- 466
 View unit in Battle MapView missions in Battle Map
Year by year #
596 contacts are recorded for the unit and sub-units, from 3 March 1966 to 14 February 1970. It was the unit in contact in 587 of them, and took part in 9 led by other units.
Unit actions #
In the contacts it led, by the task the report records:
| Task | Contacts | Share |
|---|---|---|
| Patrol | 214 | 36% |
| Ambush | 164 | 28% |
| Security | 105 | 18% |
| Bunker | 46 | 8% |
| Artillery and mortar fire | 12 | 2% |
| Artillery engagement | 9 | 2% |
| Mine incident | 6 | 1% |
| Attack | 2 | 0% |
| Cordon | 2 | 0% |
| Friendly fire | 2 | 0% |
| Transport | 2 | 0% |
| Air support | 1 | 0% |
| Not recorded | 22 | 4% |
In another unit's contact in 9 contacts led by other units: 3 Cav Regt (8), 1 Fd Sqn (1).
Operations #
| Operation | Dates | Contacts | Australians killed | Enemy killed |
|---|---|---|---|---|
| Hardihood | 5 May 1966 – 24 June 1966 | 73 | 4 | 16 |
| Enoggera | 25 June 1966 | 1 | 0 | 0 |
| TAOR | 25 June 1966 – 29 January 1970 | 33 | 2 | 17 |
| Sydney | 8 July 1966 – 13 July 1966 | 4 | 0 | 1 |
| Sydney 1 | 8 July 1966 – 12 July 1966 | 6 | 0 | 2 |
| Sydney 2 | 19 July 1966 – 22 July 1966 | 16 | 0 | 7 |
| Holsworthy | 8 August 1966 – 16 August 1966 | 5 | 1 | 2 |
| Toledo | 3 September 1966 – 7 September 1966 | 4 | 0 | 2 |
| Crows Nest | 1 October 1966 | 2 | 1 | 0 |
| Canberra | 8 October 1966 – 9 October 1966 | 4 | 0 | 0 |
| Robin | 11 October 1966 – 14 October 1966 | 5 | 0 | 0 |
| Queanbeyan | 17 October 1966 – 24 October 1966 | 10 | 3 | 11 |
| Canberra 2 | 19 October 1966 | 1 | 0 | 0 |
| Hayman | 8 November 1966 – 12 November 1966 | 12 | 1 | 11 |
| Ingham | 29 November 1966 | 1 | 1 | 0 |
| Canary | 8 December 1966 – 12 December 1966 | 5 | 0 | 1 |
| Caloundra | 10 January 1967 | 1 | 0 | 0 |
| Kirribili | 26 January 1967 – 29 January 1967 | 6 | 0 | 5 |
| Beaumaris | 14 February 1967 | 1 | 3 | 0 |
| Renmark | 19 February 1967 – 21 February 1967 | 6 | 9 | 1 |
| Leeton | 6 March 1967 – 30 May 1967 | 7 | 3 | 5 |
| Portsea | 24 March 1967 – 6 April 1967 | 3 | 1 | 0 |
| Lismore | 2 May 1967 – 3 May 1967 | 2 | 0 | 2 |
| Goodwood | 27 January 1969 – 8 February 1969 | 2 | 1 | 4 |
| Quintus Thrust | 2 March 1969 – 6 March 1969 | 17 | 0 | 15 |
| Federal | 27 March 1969 – 9 April 1969 | 24 | 2 | 19 |
| Federal/Overlander | 3 April 1969 | 3 | 0 | 0 |
| Overlander | 3 April 1969 – 6 April 1969 | 4 | 0 | 0 |
| Deerstalk | 11 April 1969 | 1 | 1 | 3 |
| Surfside | 23 April 1969 – 2 May 1969 | 17 | 0 | 4 |
| Surfside/Coogee | 27 April 1969 | 1 | 0 | 0 |
| Roadside | 4 May 1969 – 20 May 1969 | 6 | 0 | 1 |
| Twickenham | 4 May 1969 – 29 May 1969 | 24 | 1 | 16 |
| Reynella | 9 May 1969 | 1 | 0 | 0 |
| Twickenham/Toan Thang III | 23 May 1969 – 29 May 1969 | 5 | 0 | 6 |
| Hammer | 6 June 1969 – 7 June 1969 | 6 | 1 | 46 |
| Hammer/Tong | 7 June 1969 | 1 | 0 | 40 |
| TONG | 7 June 1969 | 1 | 0 | 6 |
| ESSO | 15 June 1969 – 10 July 1969 | 38 | 9 | 38 |
| Distant Trumpet | 21 July 1969 – 22 July 1969 | 2 | 0 | 2 |
| Camden | 31 July 1969 – 29 August 1969 | 48 | 1 | 54 |
| Camden 2 | 21 August 1969 | 1 | 1 | 9 |
| Nepabunna | 11 September 1969 – 12 September 1969 | 2 | 0 | 2 |
| Kingston | 15 September 1969 – 16 October 1969 | 23 | 0 | 15 |
| Kings Cross | 31 October 1969 – 9 December 1969 | 73 | 4 | 52 |
| Atherton | 11 December 1969 – 18 December 1969 | 2 | 0 | 0 |
| Vintage RALLY | 15 December 1969 – 23 December 1969 | 5 | 0 | 6 |
| U/K | 22 December 1969 – 31 December 1969 | 2 | 0 | 2 |
| Bondi 1 | 28 December 1969 – 29 December 1969 | 2 | 0 | 1 |
| Bondi | 31 December 1969 – 14 February 1970 | 36 | 0 | 35 |
| Bondi 2 | 28 January 1970 | 1 | 0 | 0 |
Air support #
No. 9 Squadron RAAF's unit history records 99 helicopter missions flown for 5 RAR, from 18 October 1966 to 16 February 1970. 125 casualties were evacuated, as the reports count them; helicopters were fired on from the ground on 3 missions, and hit on 2.
| Mission | Missions | Share |
|---|---|---|
| Troop Lift | 55 | 56% |
| Medevac | 22 | 22% |
| Gunship | 10 | 10% |
| Combat Assault | 5 | 5% |
| Other | 3 | 3% |
| Resupply | 2 | 2% |
| Extraction | 1 | 1% |
| Patrol Extraction | 1 | 1% |
The most significant:
- 4 April 1969: medevac. 6 casualties evacuated. On the allied side: 2 killed. At 1.05 pm D Company, 5 RAR called for another winch evacuation, this time of two Australians killed, flown by Flying Officer Butler (RNZAF). The company later had four more casualties, who were taken out by US Army …
- 15 June 1969: medevac. 26 casualties evacuated. A mine explosion near Dat Do caused 26 casualties in A Company, 5 RAR, 12 lying and 14 sitting. They were evacuated by Albatross 01 (Flight Lieutenant Oldfield, RNZAF), Albatross 02 (Pilot Officer Hobson), Albatross 03 …
- 4 July 1969: medevac. 28 casualties evacuated. On the allied side: 2 killed, 19 wounded. At about 10 pm C Company, 5 RAR set off a mine while moving at night, killing one man and wounding several. While the rest of the company gave first aid, a second mine was detonated. Night Dustoffs 1, 2 and 3, flown by …
- 1 August 1969: medevac. 4 casualties evacuated. On the allied side: 1 killed, 3 wounded. Wing Commander Hibben evacuated one dead and three wounded Australians of callsign 3 (C Company), 5 RAR, which took four winch lifts of 80 feet.
- 21 August 1969: combat assault. 36 casualties evacuated. Hit. On the allied side: 1 killed, 34 wounded. A Company, 5 RAR assaulted a bunker complex of 3 Battalion, 274 Viet Cong Regiment and took casualties. Albatross 04, flown by Pilot Officer Treloar with co-pilot Flight Lieutenant Satrapa, gunner Leading Aircraftman …
View the missions in Battle Map
Notable contacts #
3 March 1966: Contact #
First · 5 RAR in contact
1 Platoon of A Company, 5 RAR, made contact with five enemy soldiers moving south. The result was not known.
21 February 1967: Contact, Operation Renmark #
Significant · In 3 Cav Regt's contact
Australian: 9 killed, 26 wounded.
B Company, 5 RAR, was moving by armoured personnel carrier towards the Long Hai Hills for a Task Force attack when the leading carrier hit a powerful mine, killing two cavalrymen and two infantrymen and badly wounding the rest aboard. Men who ran to help the wounded set off more anti-personnel mines, killing or wounding most of the medics and company headquarters, until engineers ordered everyone to keep still while they cleared the area. Nine Australians were killed and 26 wounded, and Operation Renmark was cancelled.
8 February 1969: Bunker, Operation Goodwood #
Typical: bunker · 5 RAR in contact
Australian: 1 killed, 5 wounded. Enemy: 4 killed.
D Company, 9 RAR, moving west, ran into a bunker system of 21 bunkers that was bigger than it first thought. 11 Platoon was hit by rocket-propelled grenades, and when the medical helicopter came in, 12 Platoon was fired on by heavy machine-guns and rockets and the helicopter was driven off; the company withdrew while artillery, air strikes and gunships hit the camp, and found it empty the next day. One Australian was killed and five wounded; four enemy bodies were found. The company commander warned against being drawn into a bunker fight without heavy support, and noted how patiently the enemy held fire until a helicopter was hovering.
27 March 1969: Transport, Operation Federal #
Significant · In 3 Cav Regt's contact
Australian: 20 wounded.
A Company, 5 RAR, with A Squadron, 3 Cavalry Regiment, was escorting a convoy of trucks up Route 15 in Bien Hoa when two US lorries hit mines 50 metres apart. About 20 Australians were wounded, half of whom stayed on duty, and two Americans.
4 April 1969: Bunker, Operation Federal #
Significant · 5 RAR in contact
Australian: 2 killed, 7 wounded. Enemy: 4 killed.
11 Platoon, D Company, 5 RAR, was spread along its objective when a platoon of enemy in a bunker system opened fire on all of it at once, leaving the commander no reserve to extract it. Claymores, heavy rifle fire and rocket-propelled grenades caused heavy casualties. 12 Platoon, helicopter gunships and air strikes came in, the artillery achieving little, and after four hours 11 Platoon got clear with its wounded. Two Australians were killed and seven wounded; four enemy bodies were later found in fresh graves.
6 June 1969: Contact, Operation Hammer #
Significant · 5 RAR in contact
Australian: 1 killed, 10 wounded. Enemy: 43 killed, 6 wounded.
The Battle of Binh Ba. B and D Companies of 5 RAR, with tanks of B Squadron, 1 Armoured Regiment, carriers of B Squadron, 3 Cavalry Regiment, and local Regional and Popular Force troops, fought an estimated 90 enemy in the village of Binh Ba from late morning until evening. One Australian was killed and eight to ten wounded, and two Centurion tanks were damaged; 27 enemy were counted dead, more were recorded later, and two were captured.
7 June 1969: Contact, Operation Hammer/Tong #
Significant · 5 RAR in contact
Enemy: 40 killed.
A company of the 33rd North Vietnamese Regiment attacked Duc Trung and overwhelmed its local defence platoon. B Company, 5 RAR, was sent to retake it: artillery fire was brought within 20 metres of the houses, helicopter gunships attacked the north and west of the village, and B Company attacked from the south with a troop of tanks. The enemy were routed, and local forces cleared the rest of the village to avoid civilian casualties. Forty enemy were recorded killed.
15 June 1969: Contact, Operation ESSO #
Significant · 5 RAR in contact
Australian: 3 killed, 24 wounded.
A soldier of D Company, 5 RAR, stepped on an M16 mine on the southern edge of Dat Do; the mine jumped two metres before exploding. Three Australians were killed and 24 wounded. Another mine, laid only in the last few days, was found nearby, and the report notes the district chief had been told three days earlier that the company would be there.
16 June 1969: Security, Operation ESSO #
Typical: security · 5 RAR in contact
Australian: 1 killed, 2 wounded. Enemy: 2 killed.
10 Platoon, D Company, 5 RAR, was fired on with rifles and rocket-propelled grenades by an enemy squad. One Australian was killed and two wounded; two to four enemy were killed and four weapons captured. The platoon seems to have stayed in one place too long and been spotted.
24 June 1969: Patrol, Operation ESSO #
Typical: patrol · 5 RAR in contact
Australian: 7 wounded. Enemy: 2 killed, 6 wounded.
A combined patrol of 10 Australians of 3 Platoon, A Company, 5 RAR, and 55 South Vietnamese soldiers, moving to a new ambush site, was attacked from all sides by a platoon of Viet Cong main-force troops. Poor radio contact delayed artillery until a spotter aircraft relayed the calls, and the enemy closed in to escape the shells, but two helicopter gunships fired within 25 metres of the patrol and the enemy withdrew. Seven South Vietnamese were wounded by rockets; two enemy were killed and possibly six more.
4 July 1969: Patrol, Operation ESSO #
Significant · 5 RAR in contact
Australian: 3 killed, 14 wounded.
C Company, 5 RAR, found a bunker system on the south-east edge of the Long Hai Hills with anti-vehicle mines, a Claymore and a command-detonated shell. That night 7 Platoon set off an M16 mine, and another went off while the wounded were being moved; a third was found nearby. Three Australians were killed and fourteen wounded, one of them an engineer.
6 August 1969: Ambush, Operation Camden #
Typical: ambush · 5 RAR in contact
Australian: 1 wounded. Enemy: 7 killed, 9 wounded.
12 Platoon, D Company, 5 RAR, was in ambush in two half-platoon groups 70 metres apart when about 45 enemy moved north along the track through both. Both groups opened fire, and the enemy withdrew hastily without firing back, dragging away bodies and wounded under fire. Gunships, artillery and mortars covered the area, and the sweep at first light found seven dead and captured rifles, Claymores, food and documents. One Australian was slightly wounded by a grenade and stayed on duty.
21 August 1969: Bunker, Operation Camden 2 #
Significant · 5 RAR in contact
Australian: 1 killed, 37 wounded. Enemy: 9 killed, 25 wounded.
A Company, 5 RAR's Assault Pioneer Platoon heard voices ahead and, with 3 Platoon, assaulted a bunker system after artillery fire behind it to cut off the enemy. They met very heavy rocket and rifle fire from the bunkers and flanks, and pulled back to a clearing to evacuate the wounded; as the medical helicopters arrived, the enemy closed in and fired mortars, rifles and rockets into the wounded, until helicopter gunships drove them back and the evacuation was moved. One Australian was killed and more than 30 wounded; nine enemy were recorded killed and 25 wounded. The company commander said the radio net had been chaotic with every supporting element on it.
14 February 1970: Ambush, Operation Bondi #
Last · 5 RAR in contact
Australian: 1 wounded. Enemy: 1 killed.
8 Platoon, C Company, 5 RAR, and company headquarters were ambushing a main track when the rear machine-gunner saw enemy coming along a footpad behind them and opened fire. One enemy was killed and the others escaped. One Australian was wounded when a Claymore shorted and went off.
Sub-units #
A Company #
133 contacts, 3 March 1966 to 8 February 1970; 32 operations. Australian: 5 killed, 101 wounded. Enemy: 109 killed, 92 wounded.
Actions: ambush 38%, patrol 34%, security 13%, bunker 6%, artillery and mortar fire 5%.
Most significant contacts:
- 27 March 1969: transport, Operation Federal. Australian: 20 wounded.
- 24 June 1969: patrol, Operation ESSO. Australian: 7 wounded. Enemy: 2 killed.
- 21 August 1969: bunker, Operation Camden 2. Australian: 1 killed, 37 wounded. Enemy: 9 killed.
B Company #
132 contacts, 24 May 1966 to 8 February 1970; 28 operations. Australian: 21 killed, 71 wounded. Enemy: 161 killed, 85 wounded.
Actions: patrol 39%, ambush 23%, security 19%, bunker 7%, artillery engagement 2%.
Most significant contacts:
- 21 February 1967: mine incident, Operation Renmark. Australian: 9 killed, 26 wounded.
- 6 June 1969: contact, Operation Hammer. Australian: 1 killed, 10 wounded. Enemy: 43 killed.
- 7 June 1969: contact, Operation Hammer/Tong. Enemy: 40 killed.
C Company #
123 contacts, 24 May 1966 to 14 February 1970; 22 operations. Australian: 8 killed, 63 wounded. Enemy: 76 killed, 43 wounded.
Actions: patrol 37%, ambush 26%, security 15%, bunker 13%, artillery and mortar fire 2%.
Most significant contacts:
- 14 February 1967: patrol, Operation Beaumaris. Australian: 3 killed, 5 wounded.
- 4 July 1969: patrol, Operation ESSO. Australian: 3 killed, 14 wounded.
- 2 November 1969: patrol, Operation Kings Cross. Enemy: 6 killed.
D Company #
133 contacts, 29 May 1966 to 10 February 1970; 26 operations. Australian: 12 killed, 71 wounded. Enemy: 99 killed, 58 wounded.
Actions: ambush 32%, patrol 30%, security 24%, bunker 8%, mine incident 2%.
Most significant contacts:
- 4 April 1969: bunker, Operation Federal. Australian: 2 killed, 7 wounded. Enemy: 4 killed.
- 15 June 1969: mine incident, Operation ESSO. Australian: 3 killed, 24 wounded.
- 6 August 1969: ambush, Operation Camden. Australian: 1 wounded. Enemy: 7 killed.
Support Company #
52 contacts, 15 August 1966 to 10 February 1970; 21 operations. Australian: 6 killed, 55 wounded. Enemy: 34 killed, 50 wounded.
Actions: patrol 53%, ambush 21%, security 15%, bunker 6%, artillery engagement 2%.
Most significant contacts:
- 18 October 1966: patrol, Operation Queanbeyan. Australian: 1 killed, 2 wounded. Enemy: 1 killed.
- 7 June 1969: contact, Operation TONG. Enemy: 6 killed.
- 21 August 1969: bunker, Operation Camden 2. Australian: 1 killed, 37 wounded. Enemy: 9 killed.
View Support Company in Battle Map
Roll of honour #

The unit's 52 dead on the honour roll: those on a tour with the unit when they died, and reinforcements killed in the unit's contacts. Each opens their entry on the honour roll.
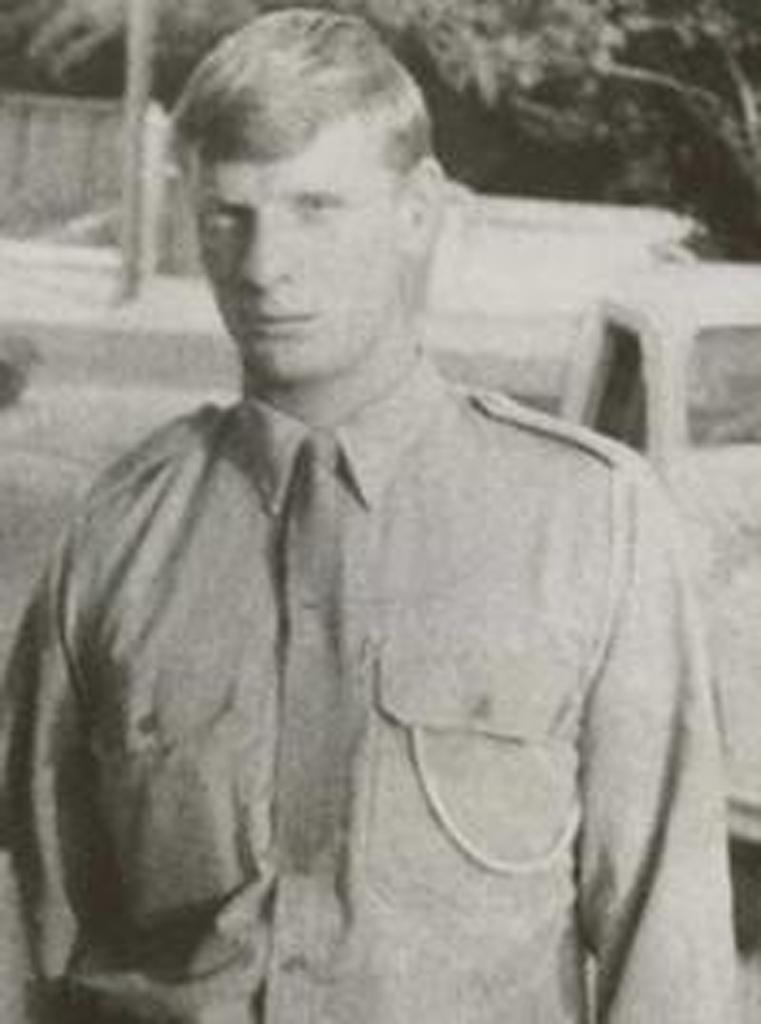 Errol Wayne Noack
Private
24 May 1966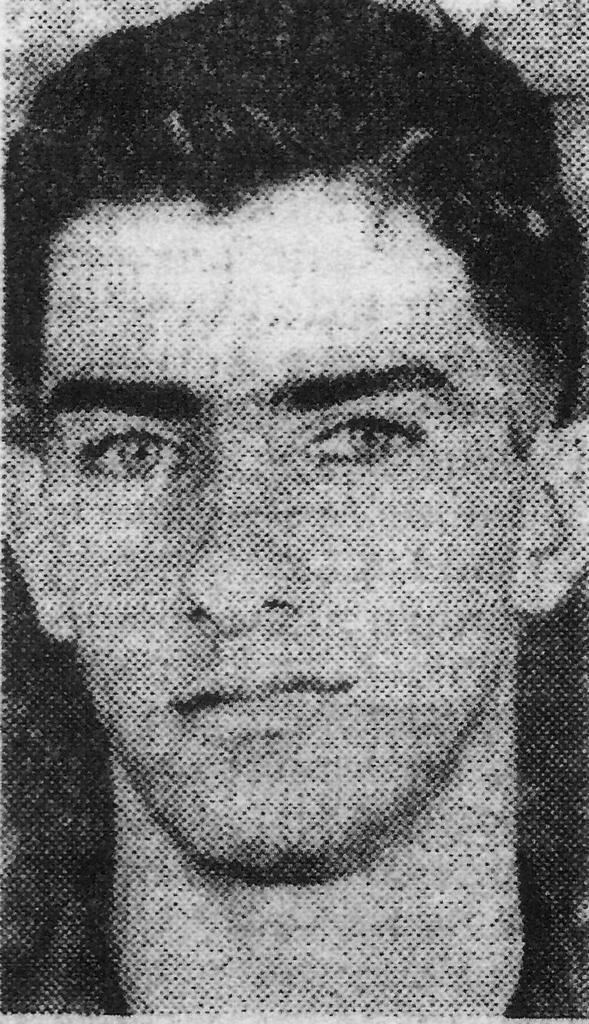 John Robert Sweetnam
Private
9 June 1966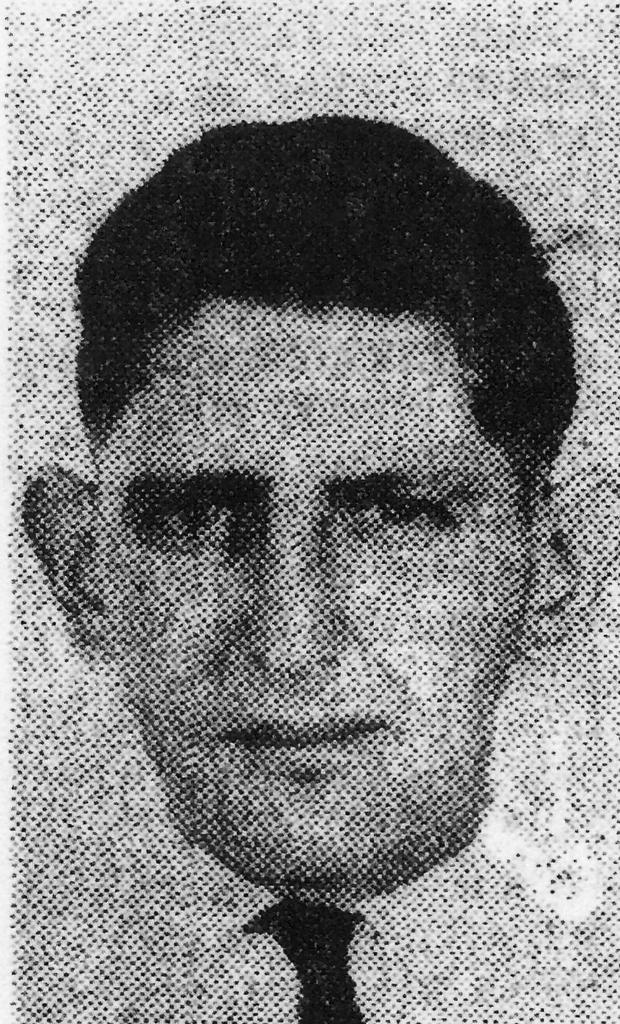 Brendan Francis Coupe
Corporal
10 June 1966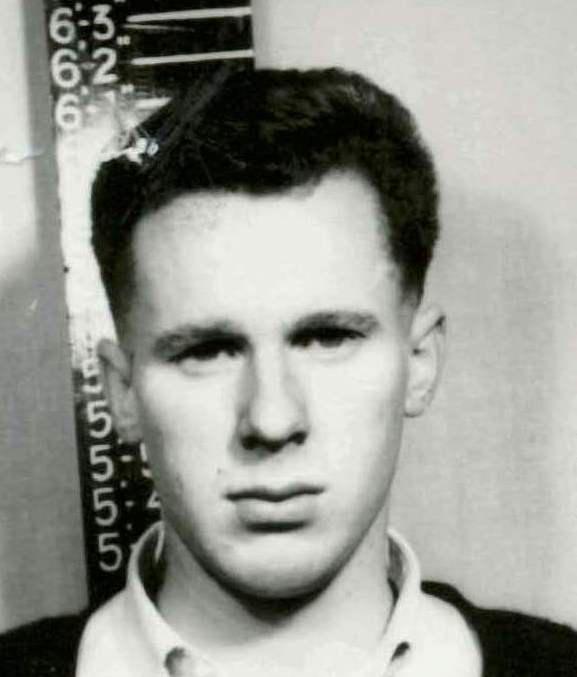 Leslie Thomas Farren
Private
10 June 1966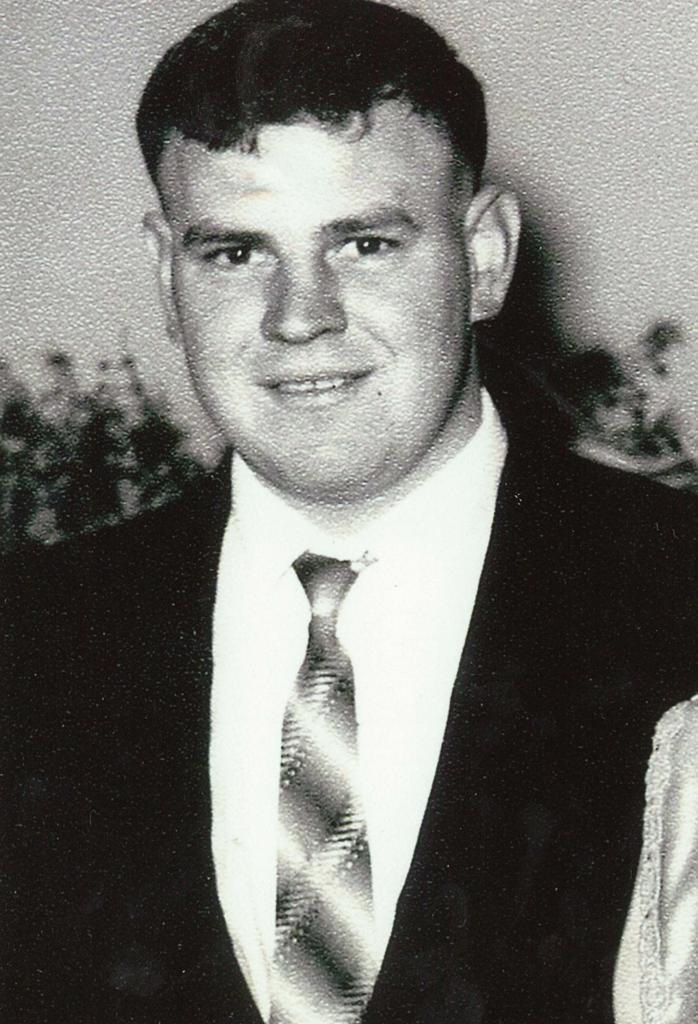 Robert John Lubcke
Private
2 July 1966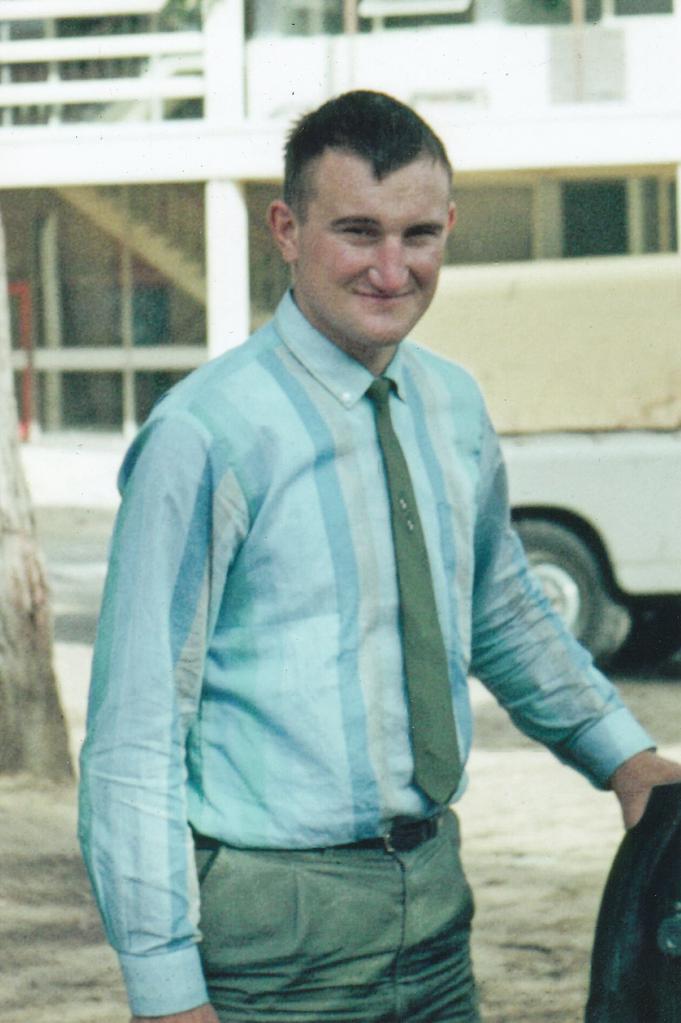 Marian Tomas
Lance-Corporal
8 July 1966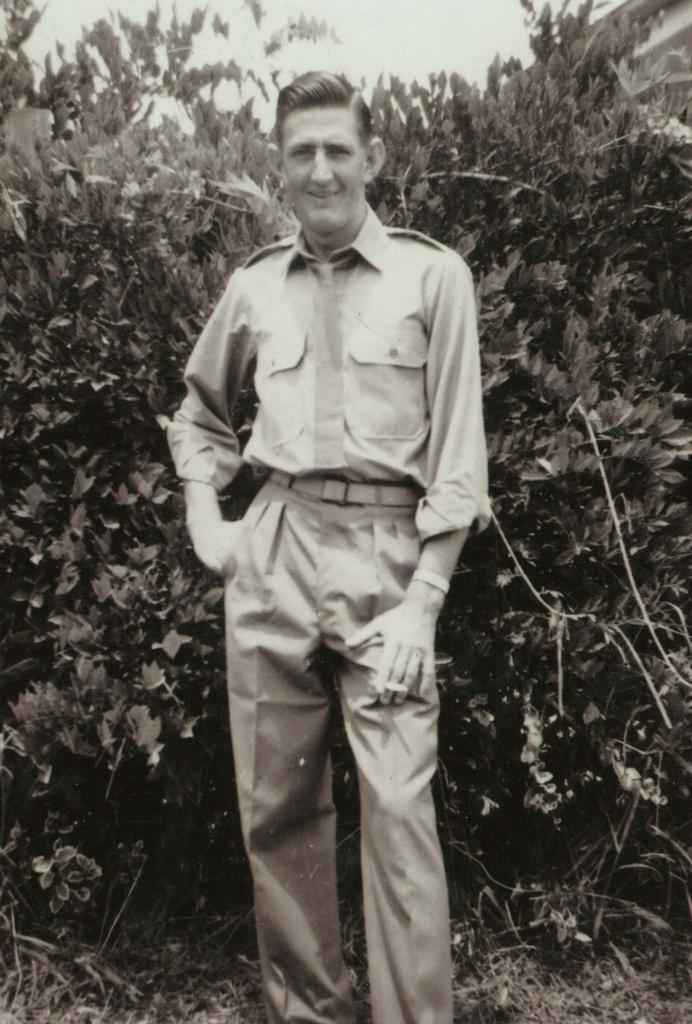 Raymond John Kennedy
Private
14 August 1966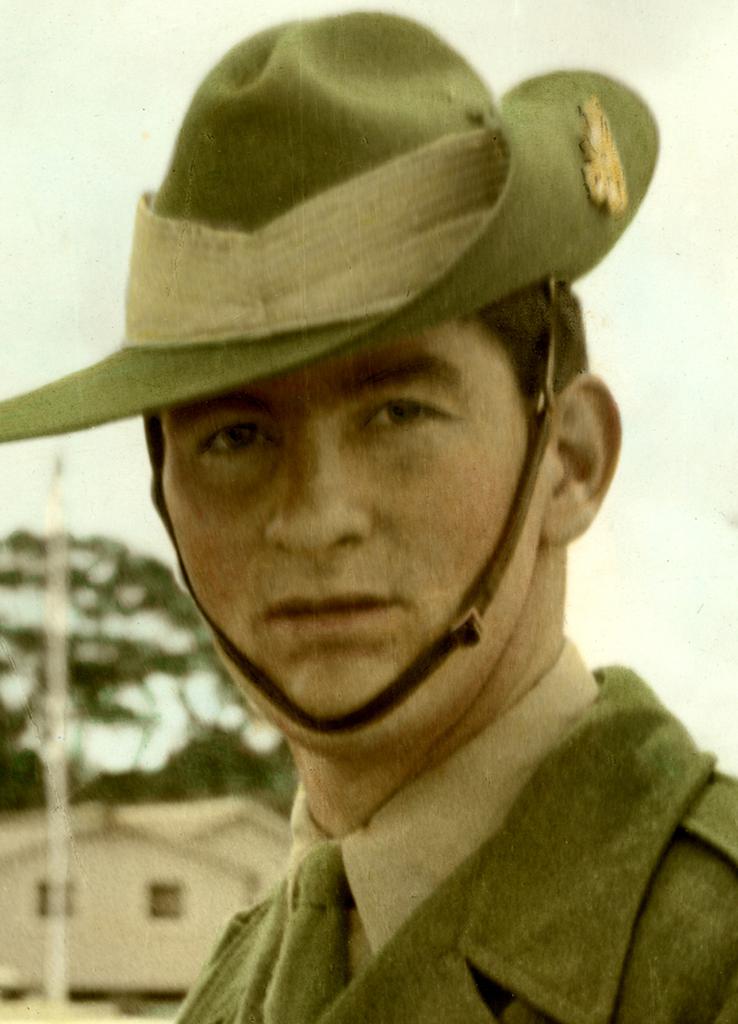 Graham Francis Anthony Warburton
Private
1 October 1966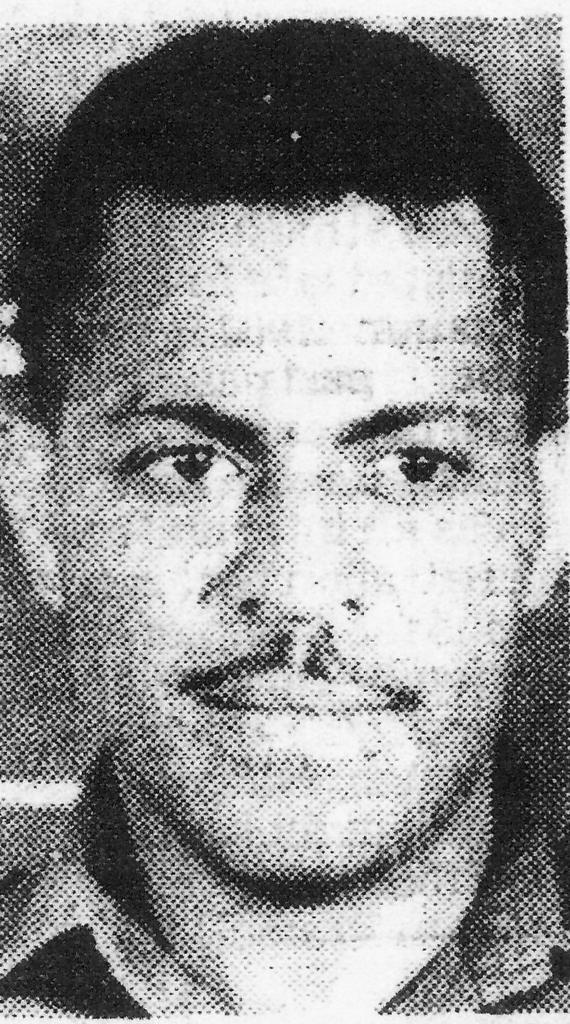 Norman James Womal
Corporal
17 October 1966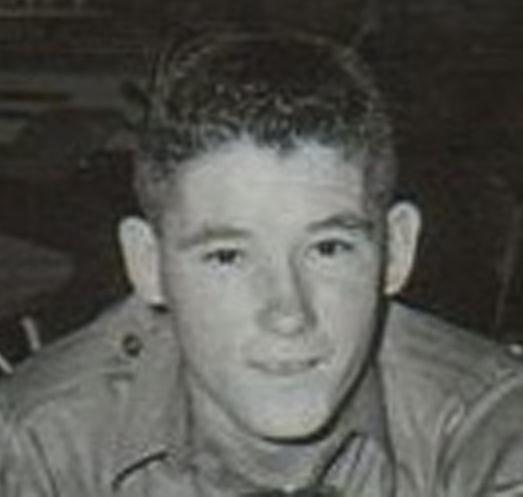 Gordon Henry D'antoine
Private
18 October 1966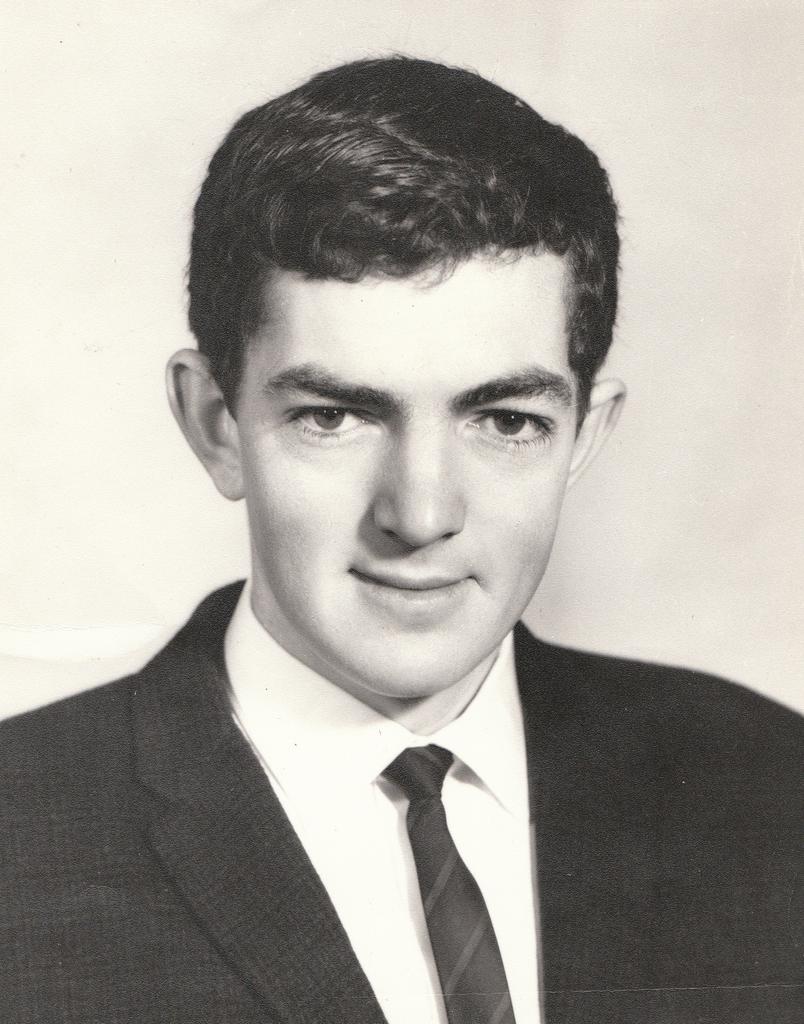 Bryan Phillip Watson
Lance-Corporal
10 November 1966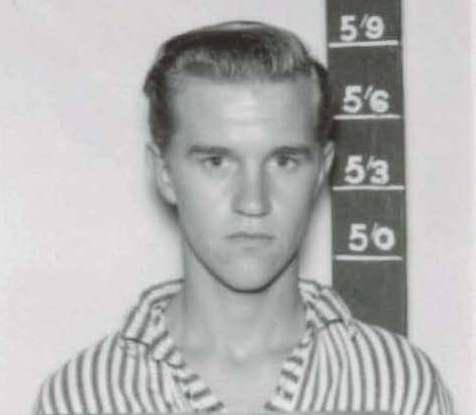 Erald Herman Nilsen
Private
14 November 1966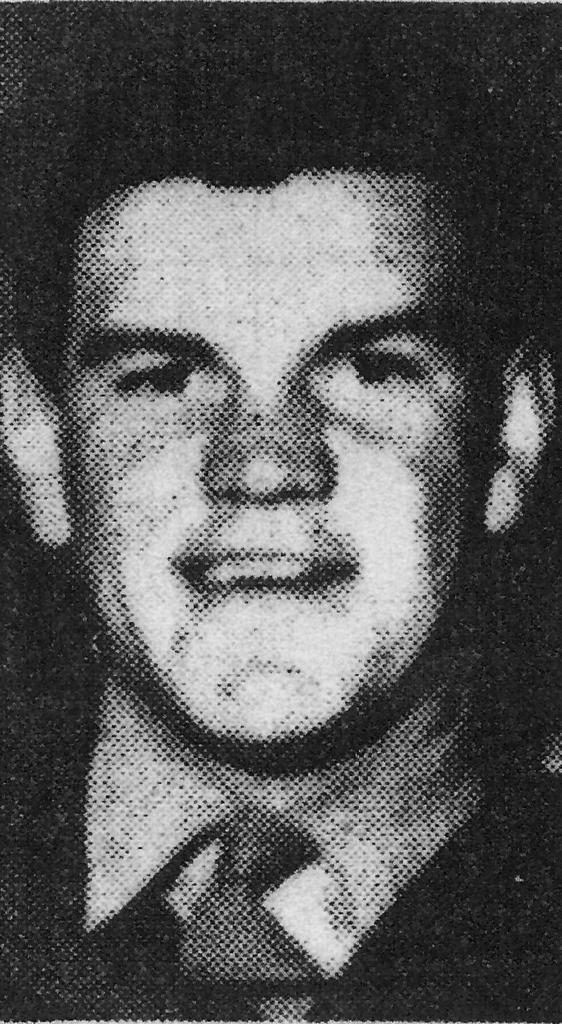 Noel Arthur Pracy
Private
18 November 1966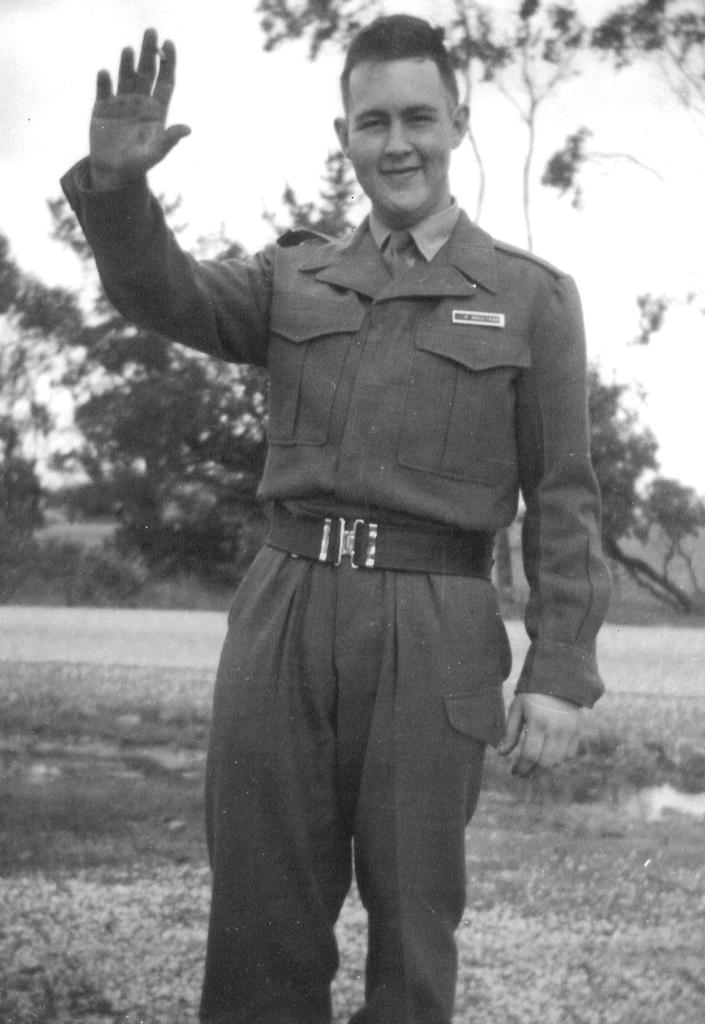 Paul Charles Sullivan
Private
27 December 1966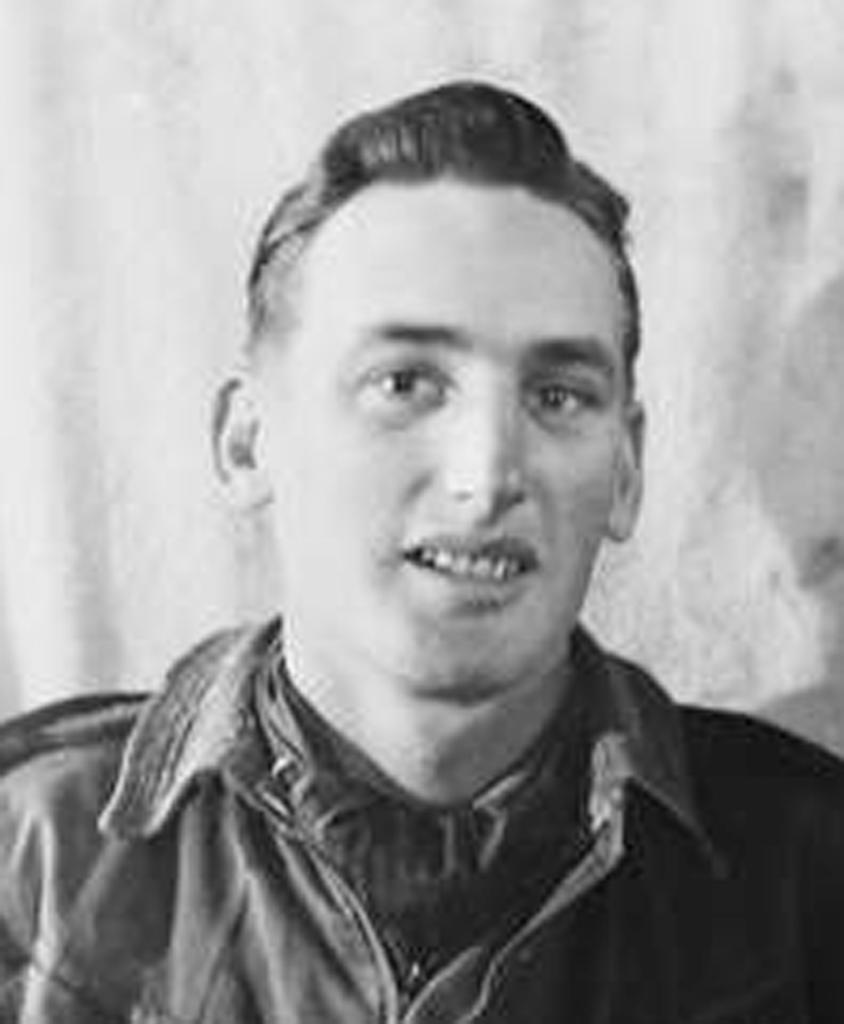 Donald Mackenzie Bourne
Major
14 February 1967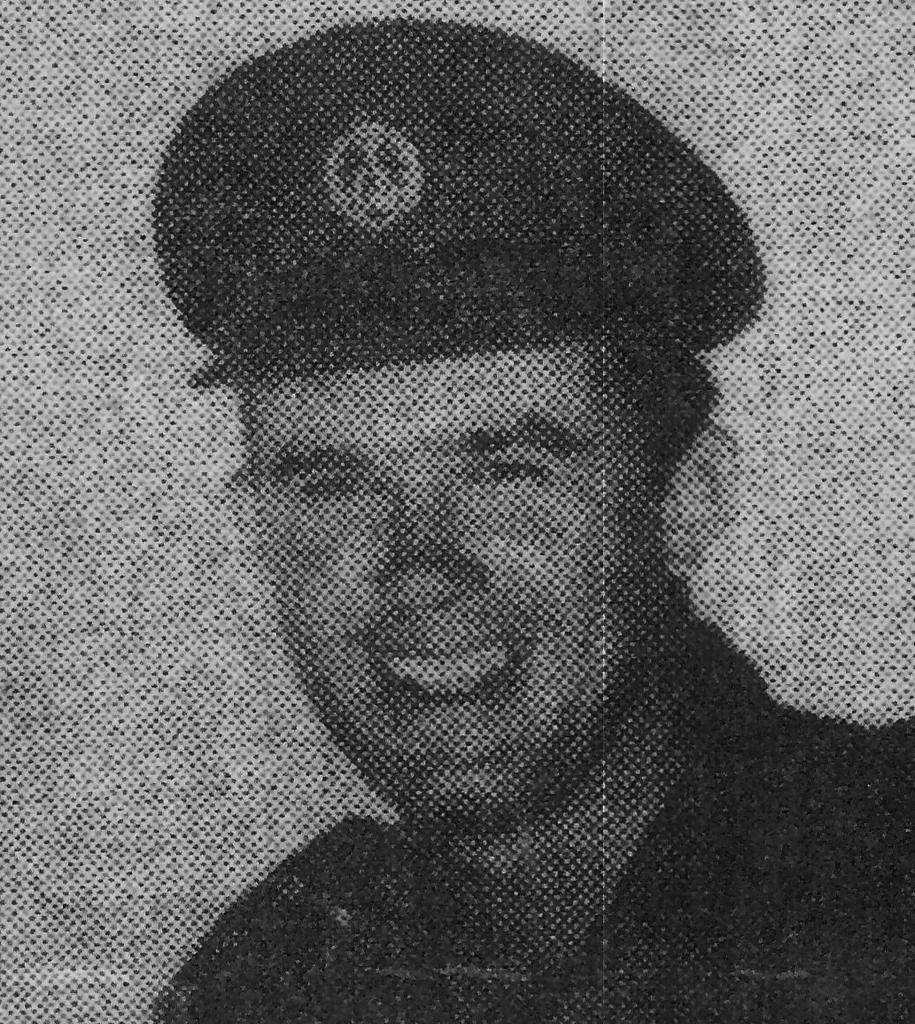 Robert Bruce Milligan
(Temporary) Captain
14 February 1967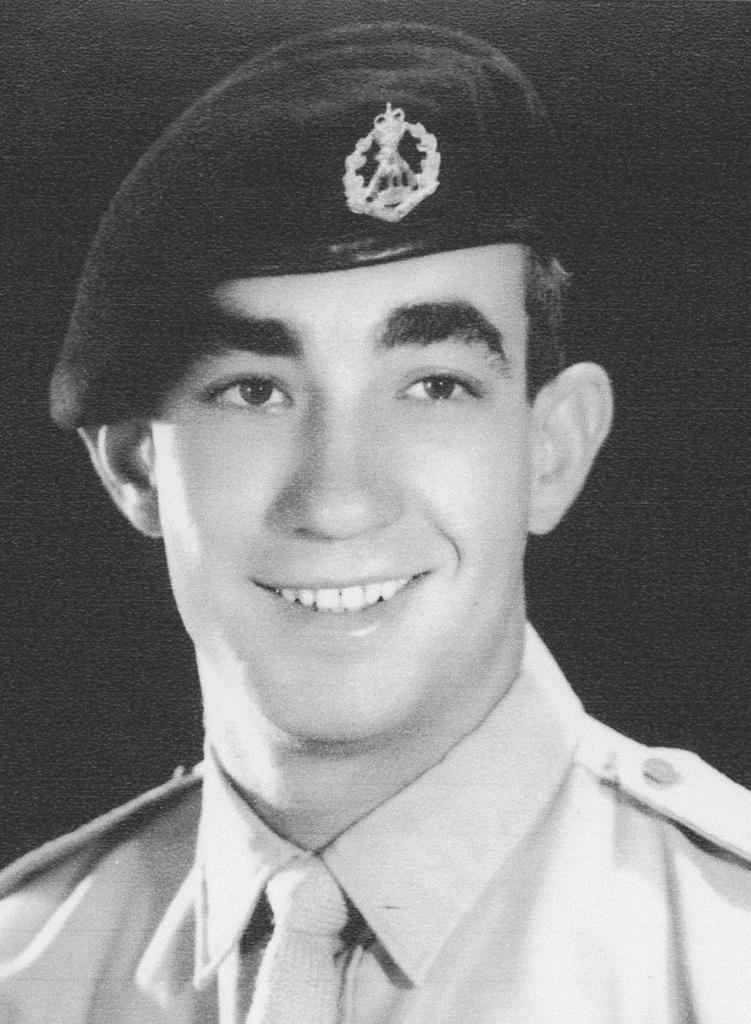 Donald Murray Clark
Private
21 February 1967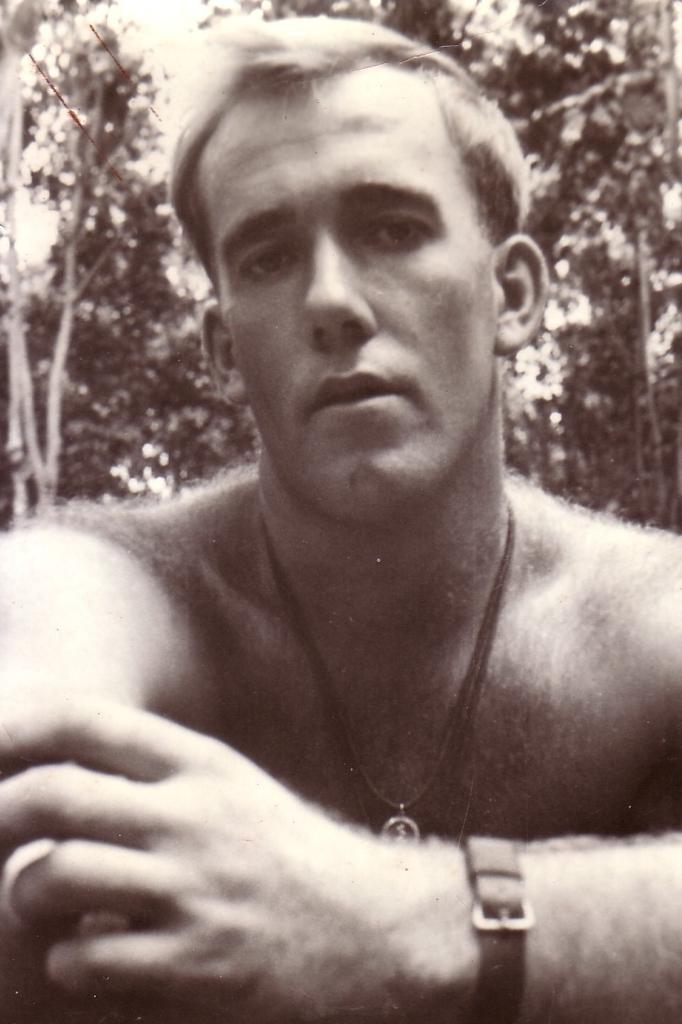 George Bruce Green
Lance-Corporal
21 February 1967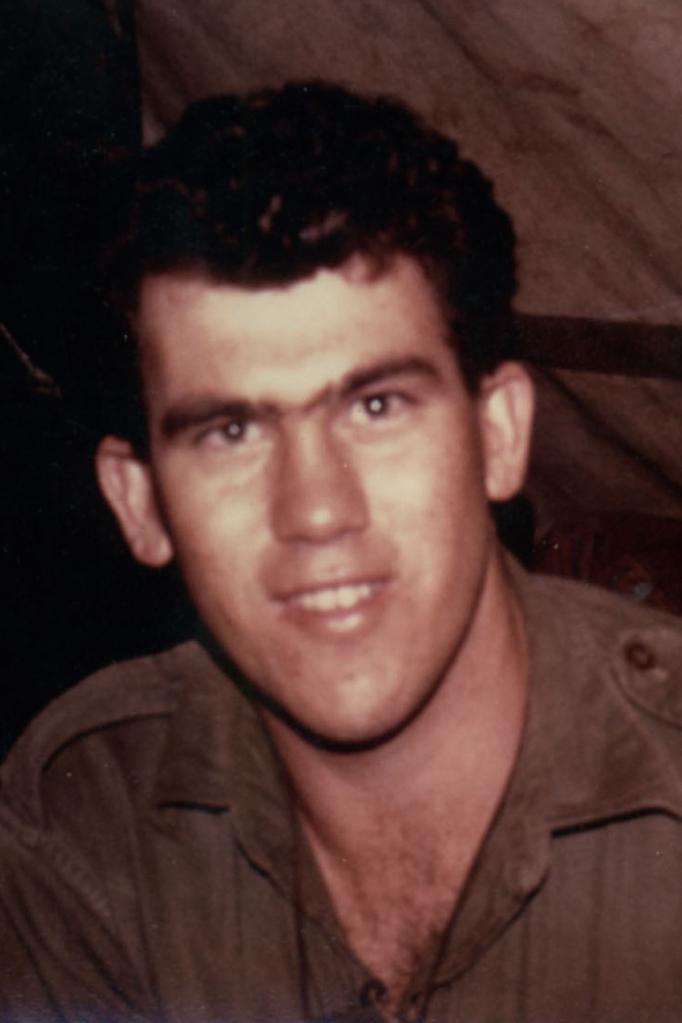 James Clifton Webster
Private
21 February 1967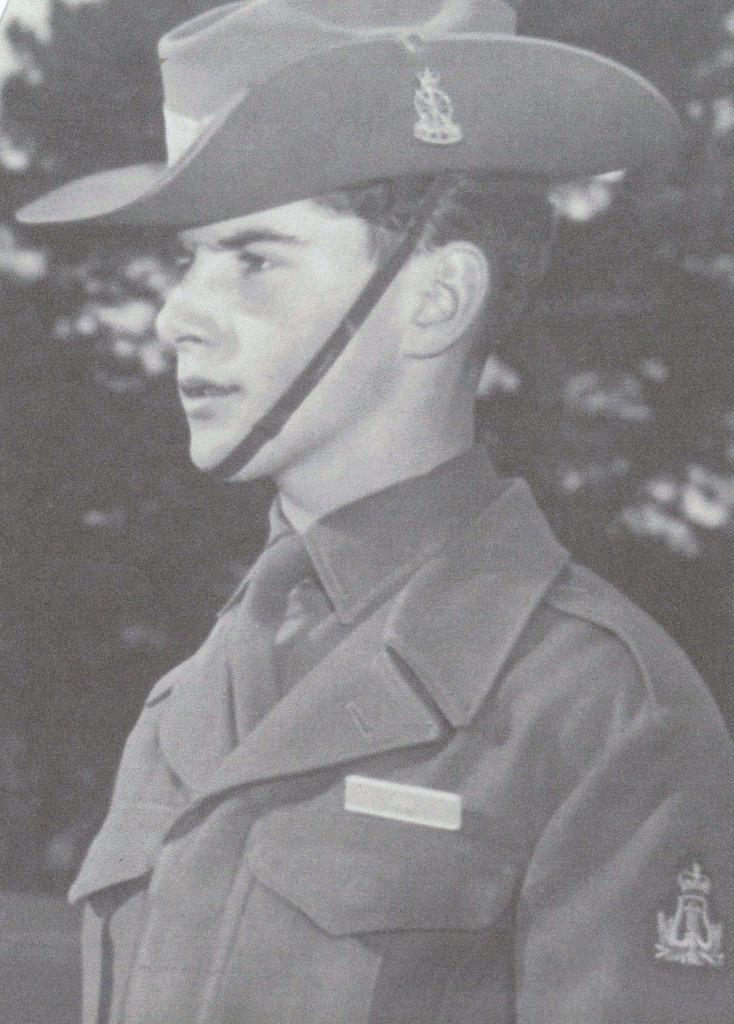 Michael Damien Poole
Private
21 February 1967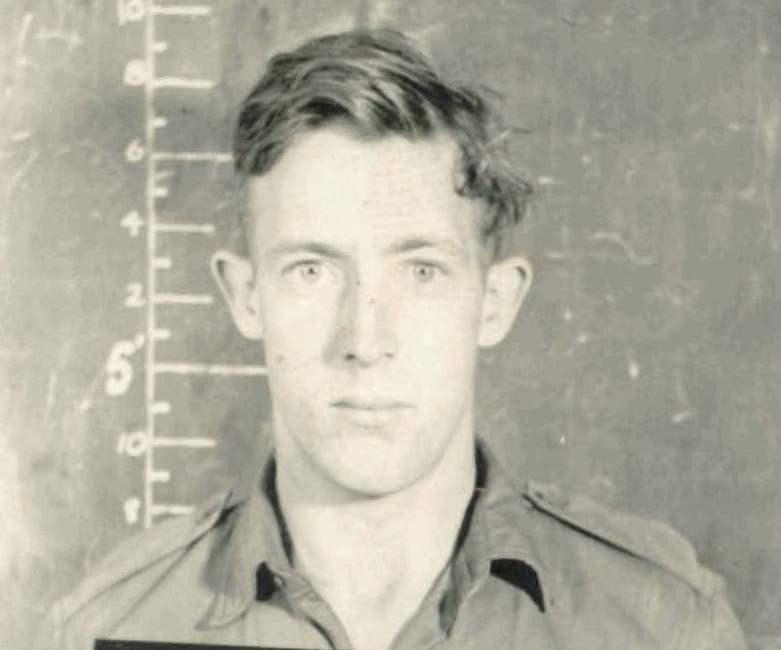 Richard Wayne Sandow
Private
21 February 1967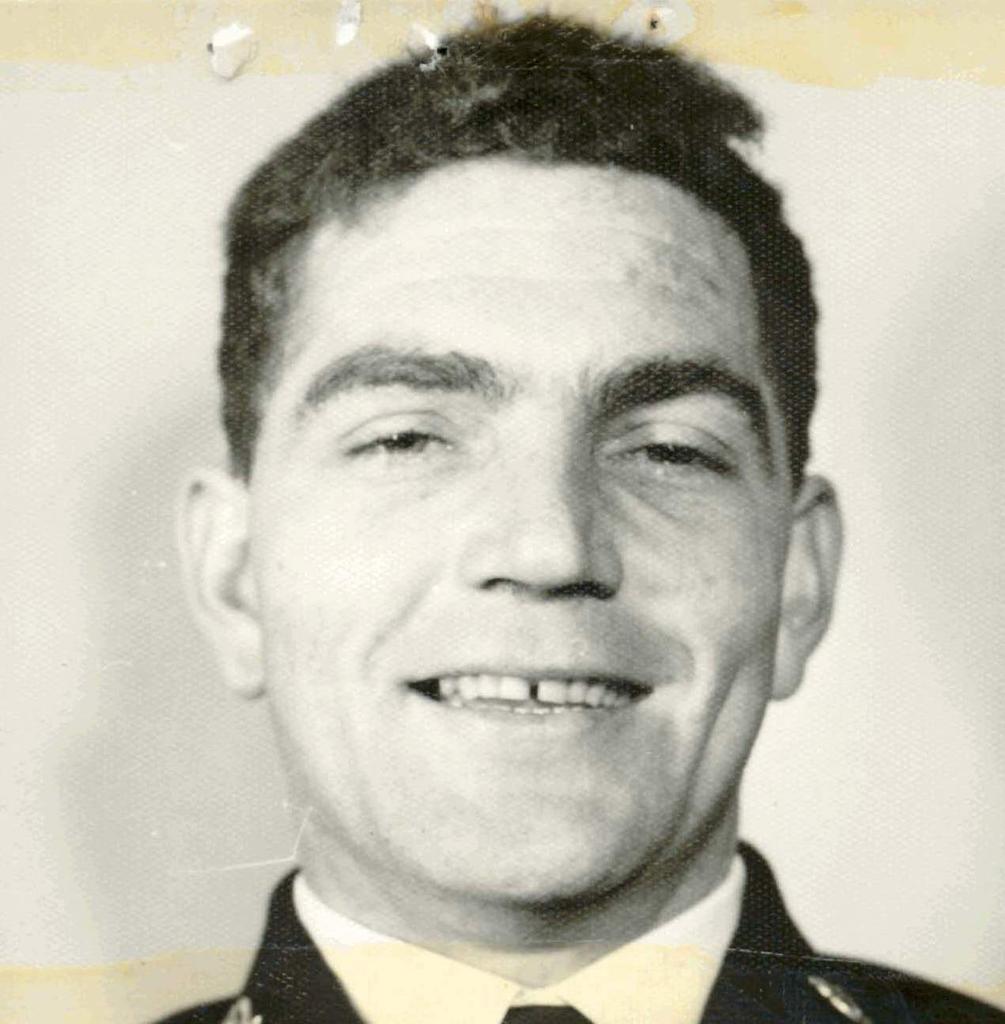 John Carruthers
Lieutenant
24 February 1967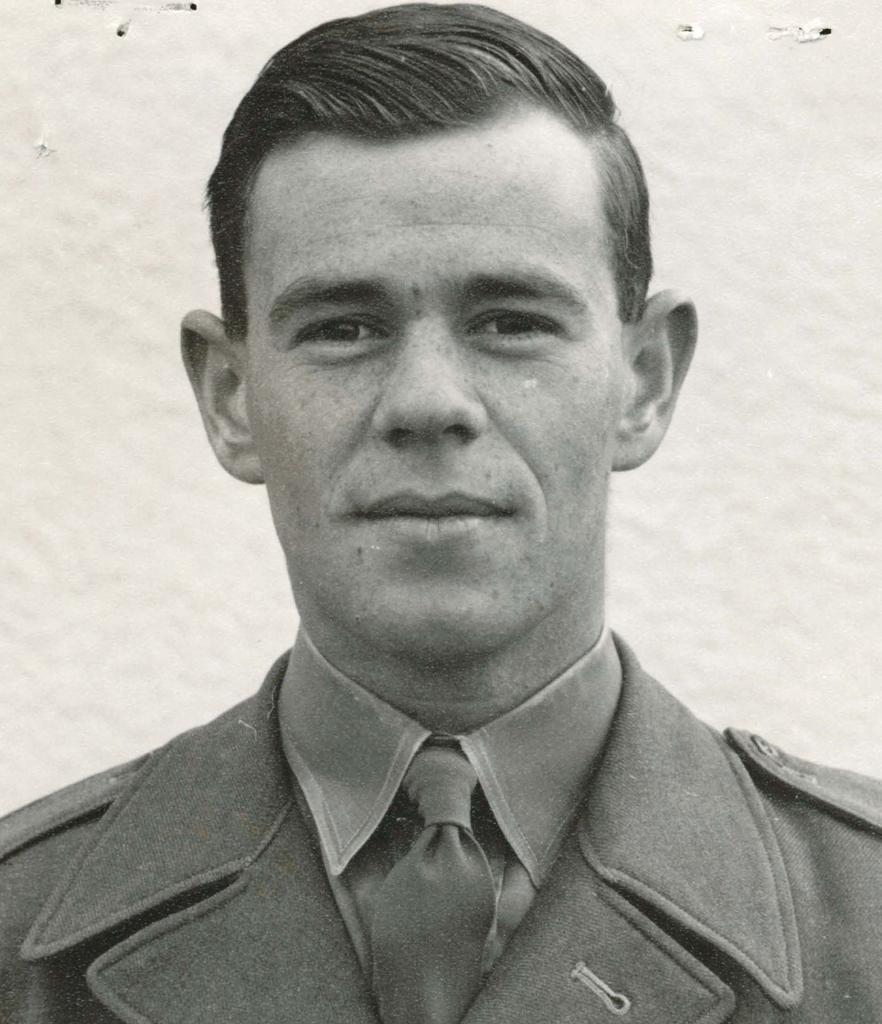 Malcolm Bruce Mcqualter
Major
5 March 1967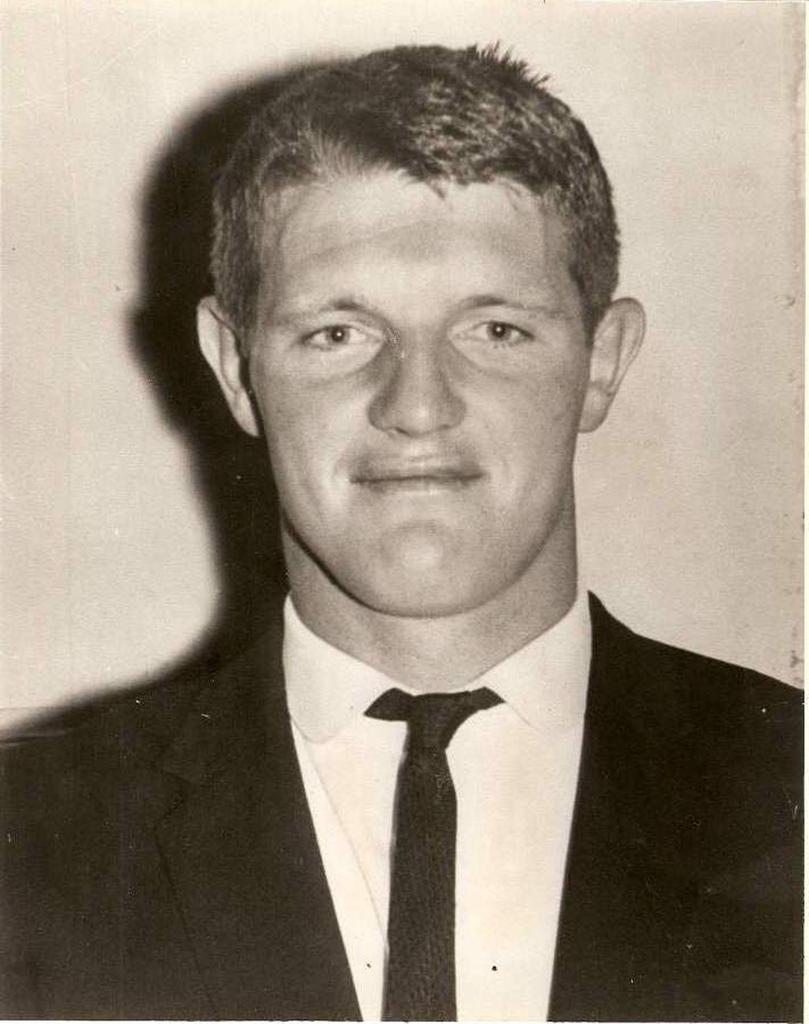 Richard Edward Lloyd
Private
6 April 1967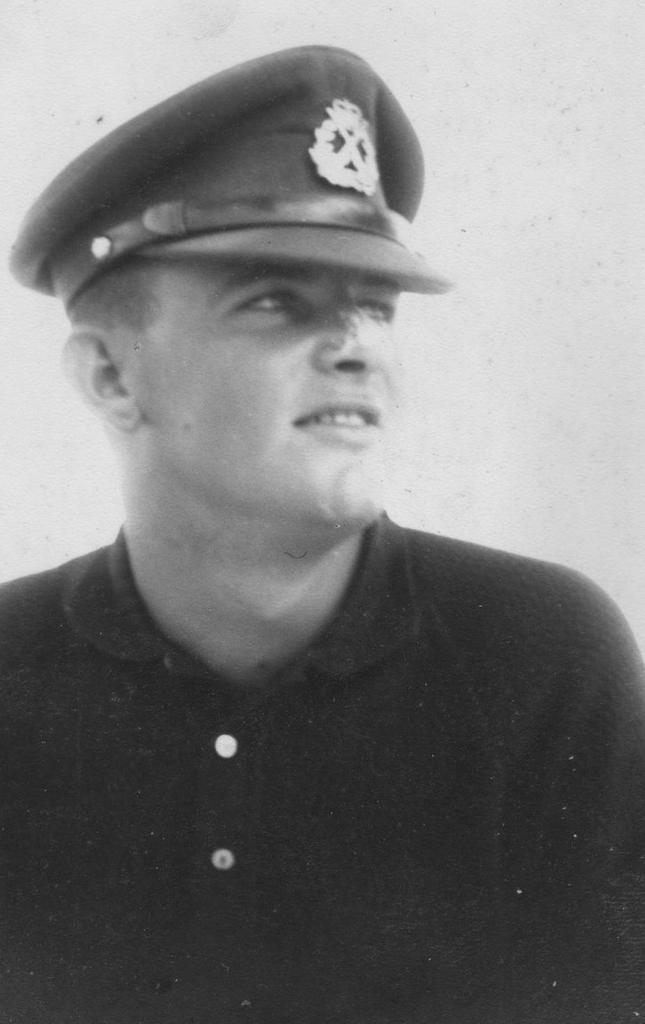 Kerry Patrick Rinkin
2nd Lieutenant
7 April 1967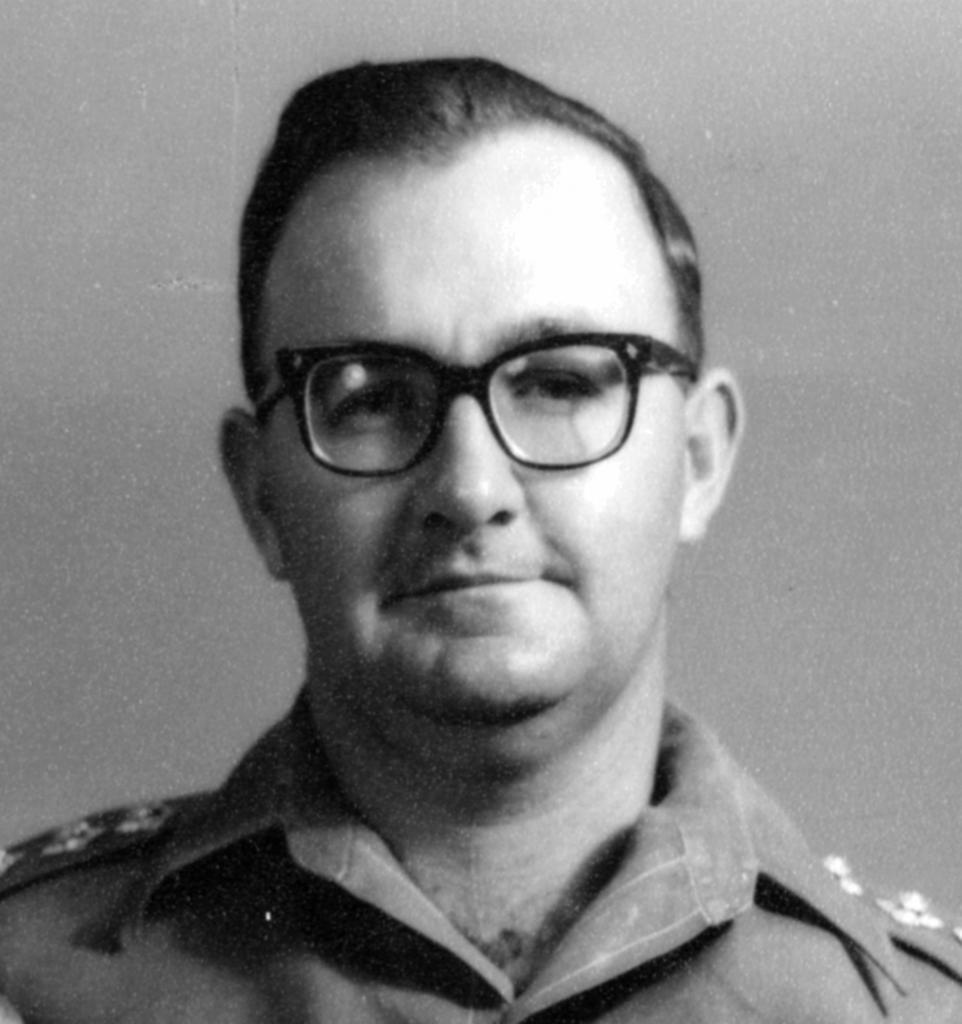 Peter John Badcoe
Major
7 April 1967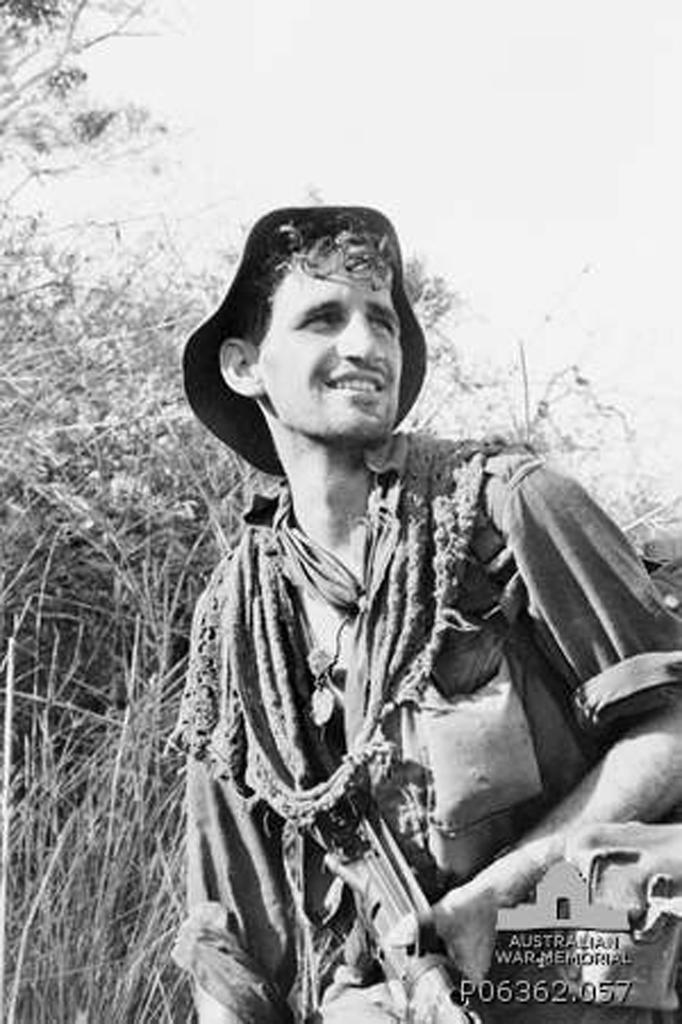 Bernard Lyle Smith
(Acting) Sergeant
9 March 1969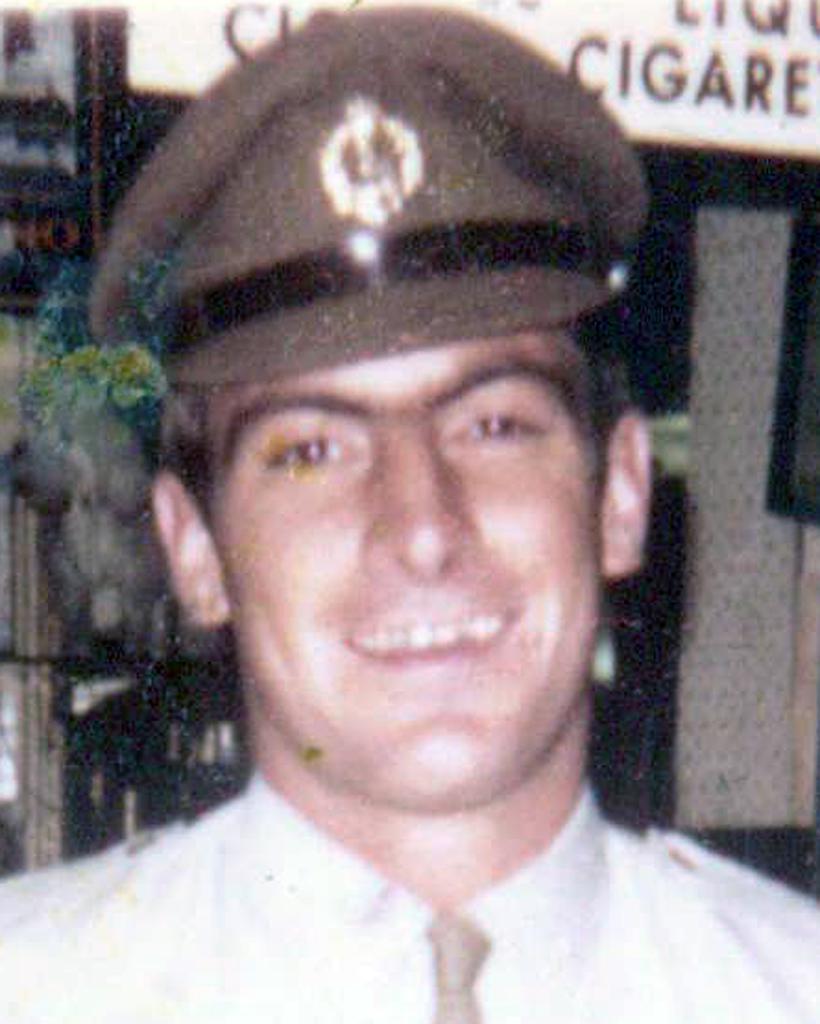 Brian Geoffrey Walker
2nd Lieutenant
9 March 1969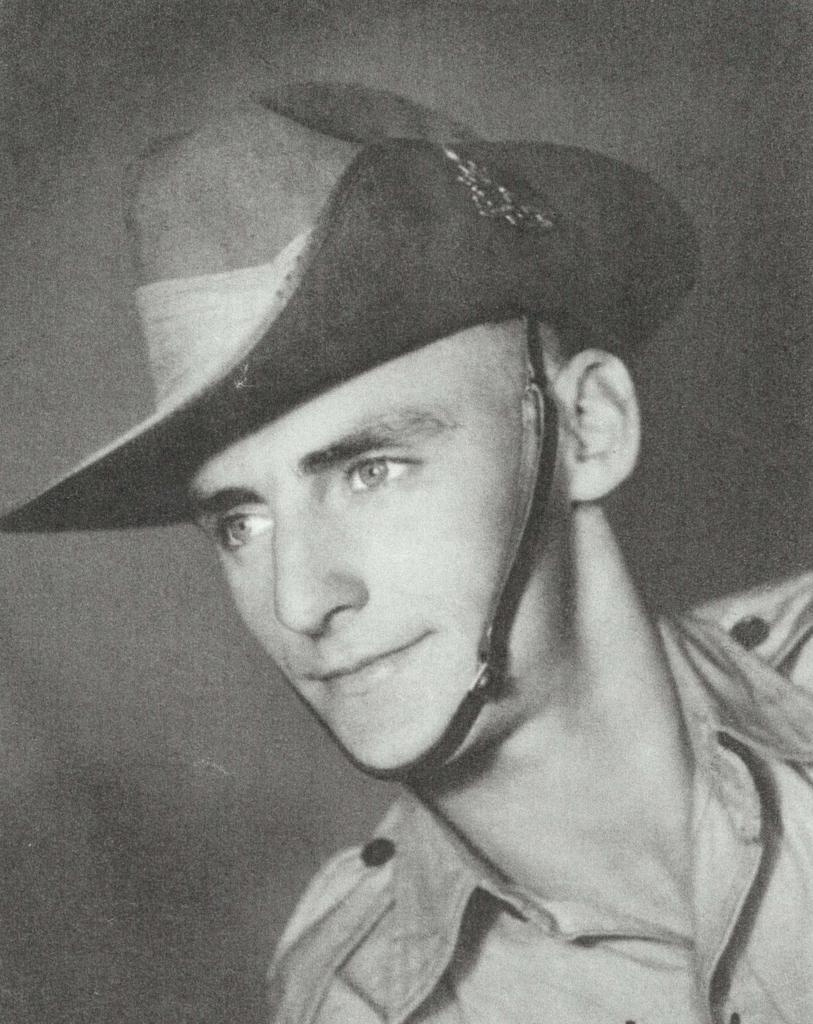 George Geoffrey Gilbert
Corporal
9 March 1969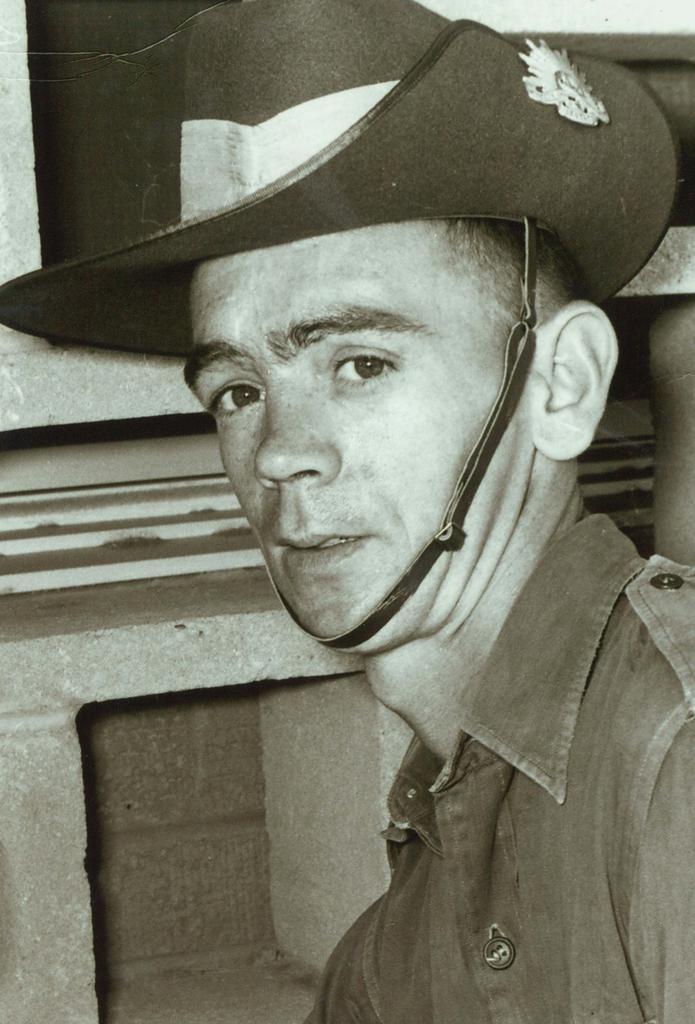 Geoffrey Anthony Pike
Private
4 April 1969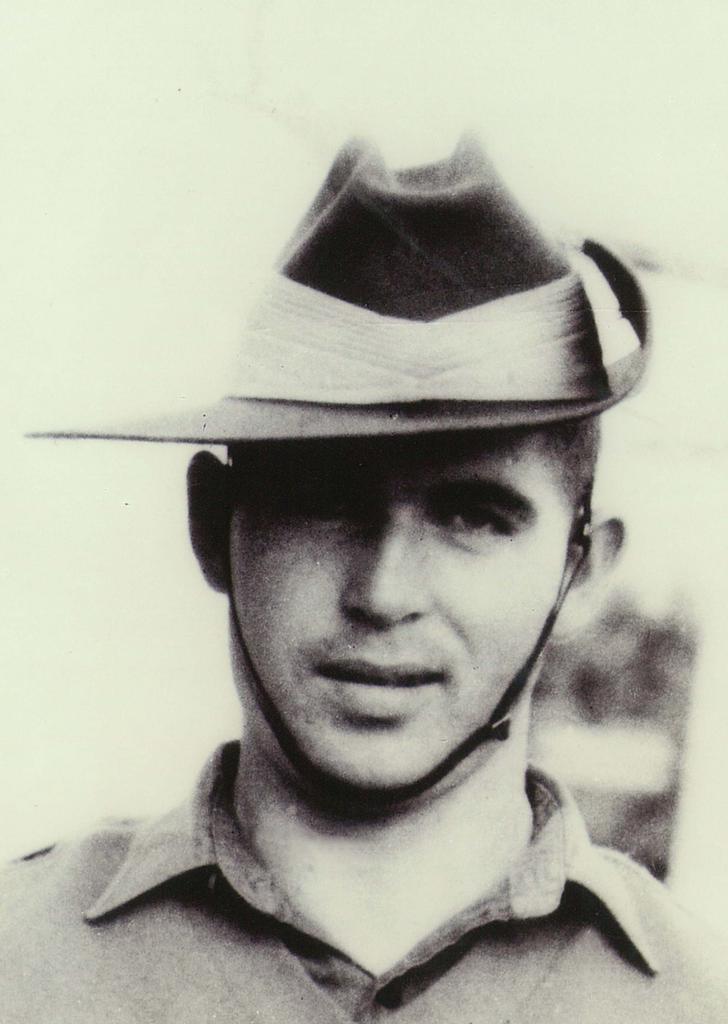 James Mungo White
Private
4 April 1969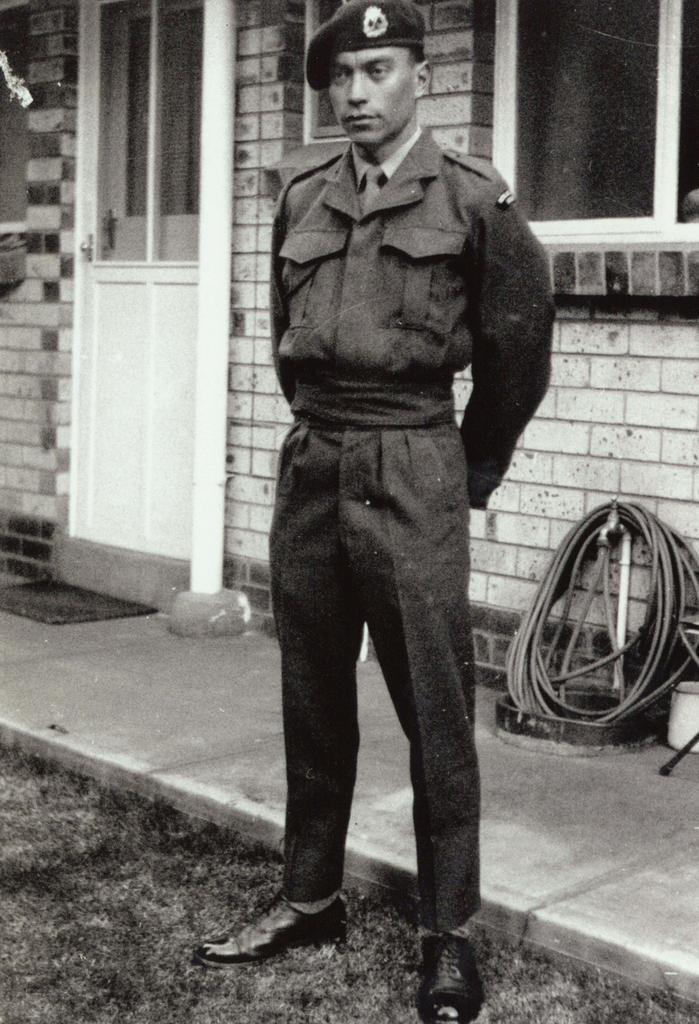 Alexander Remeljej
Private
11 April 1969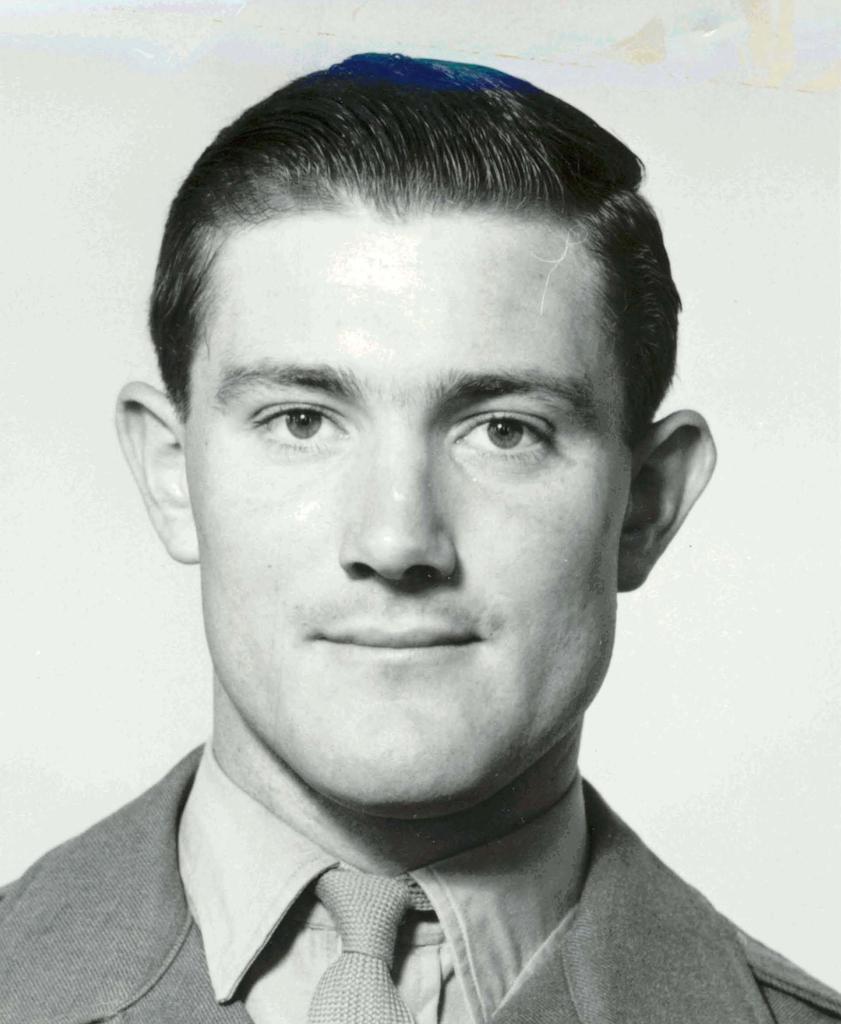 Errol John Lee
Lieutenant
11 May 1969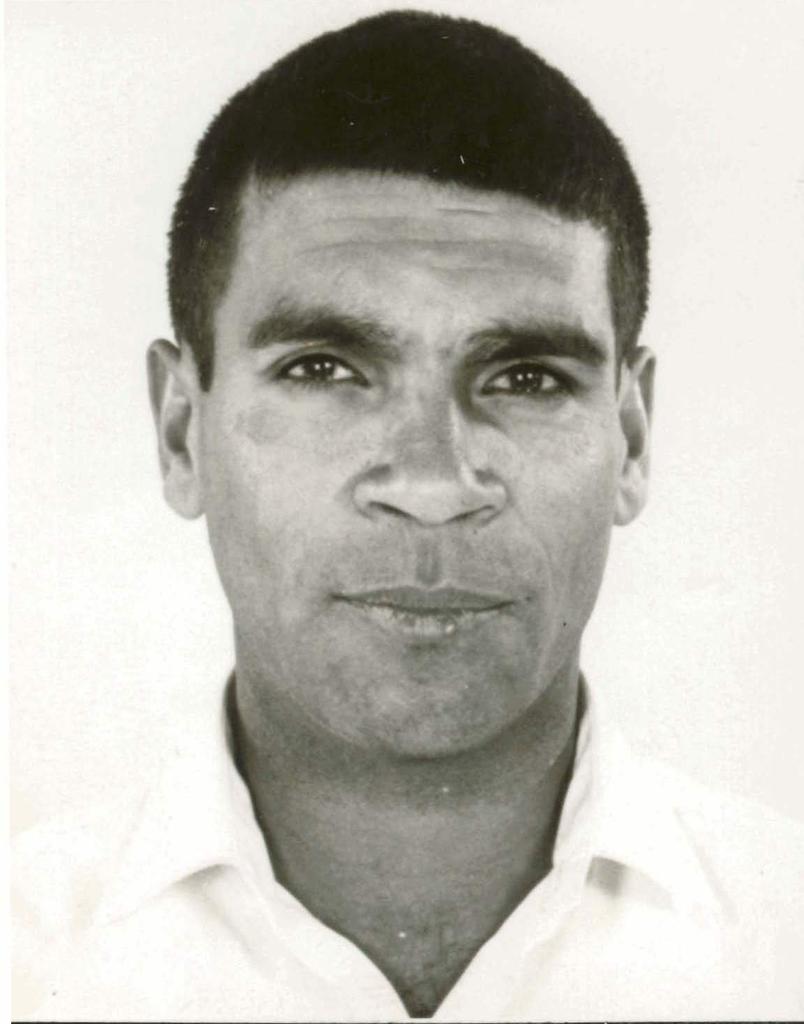 Andrew Drummond
Private
30 May 1969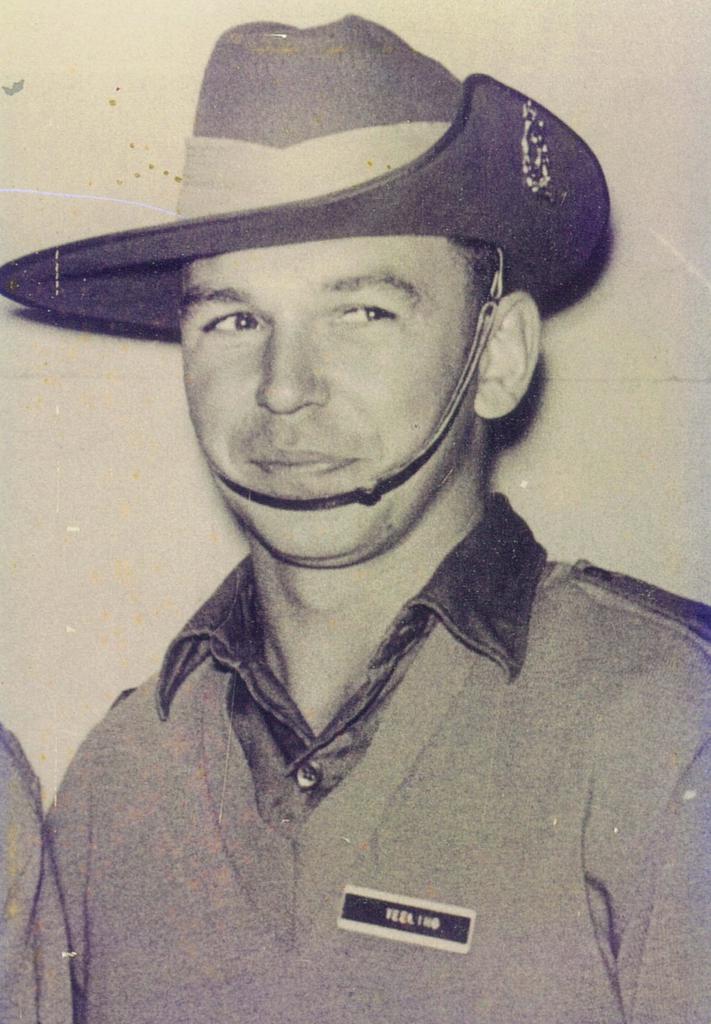 Wayne Edward Teeling
Private
6 June 1969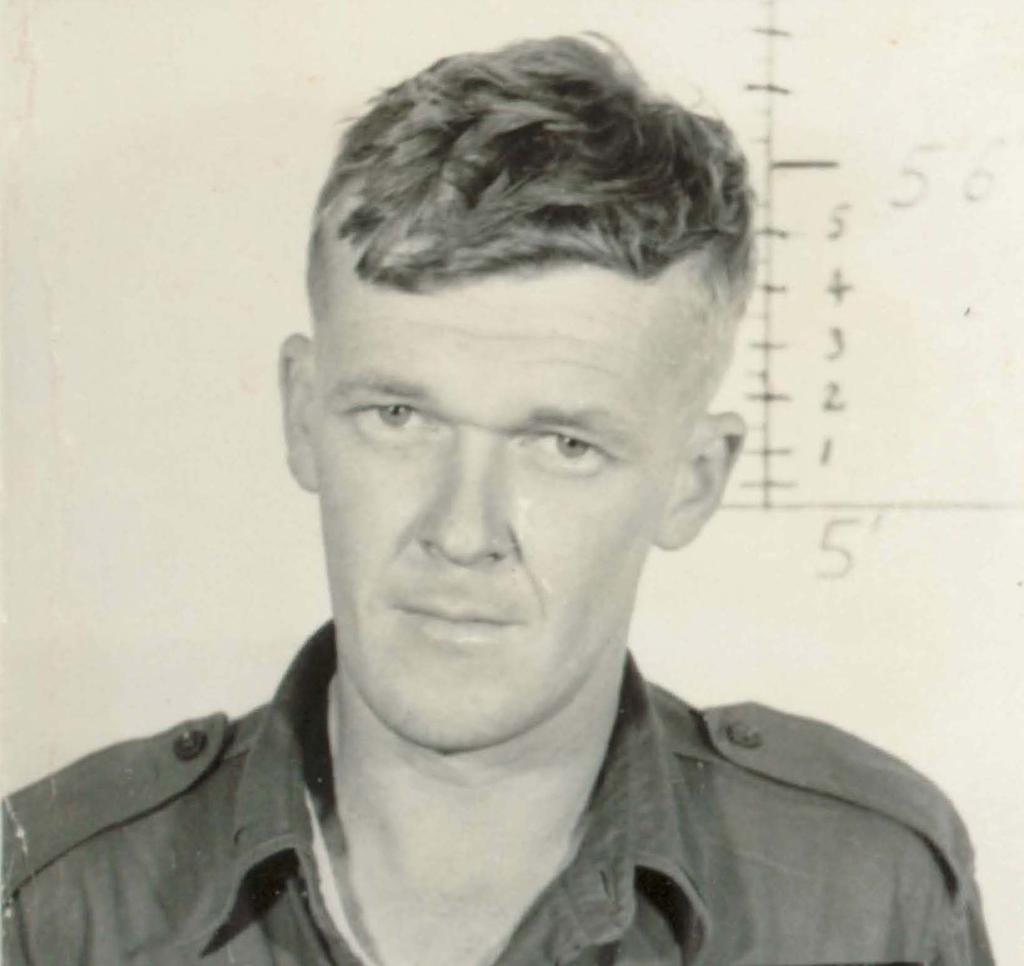 John Joseph Kennedy
Corporal
15 June 1969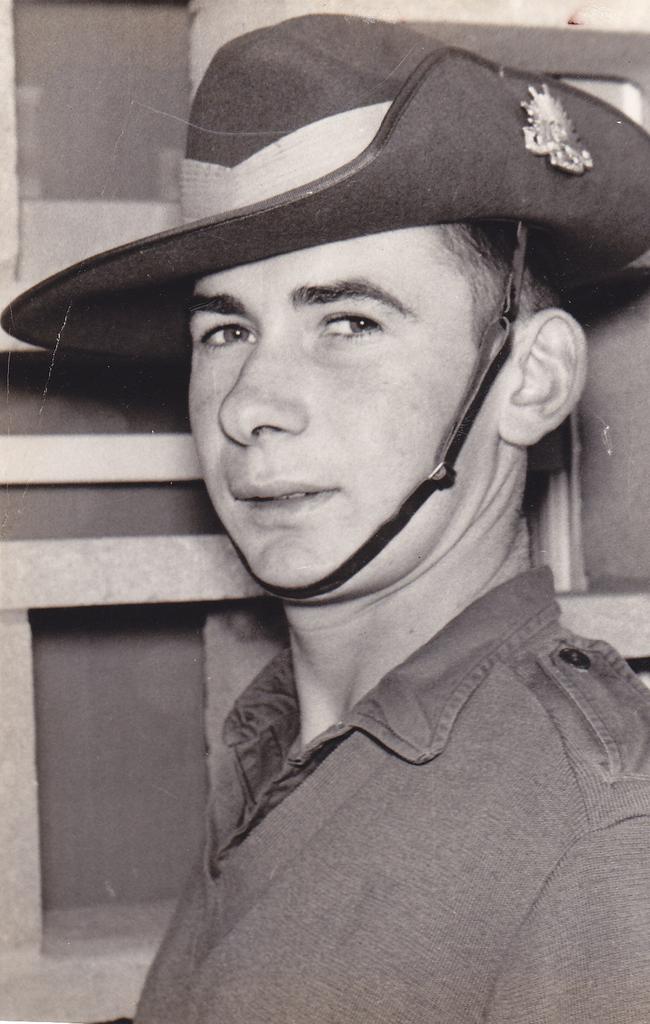 Peter Joseph Jackson
Private
15 June 1969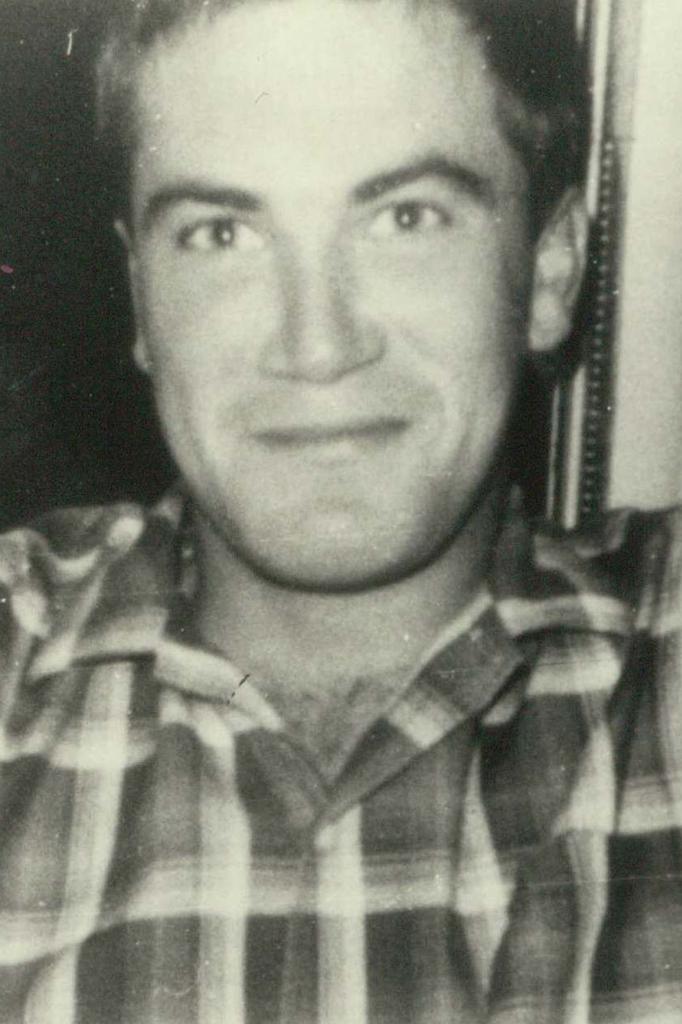 Timothy Charles Turner
Private
15 June 1969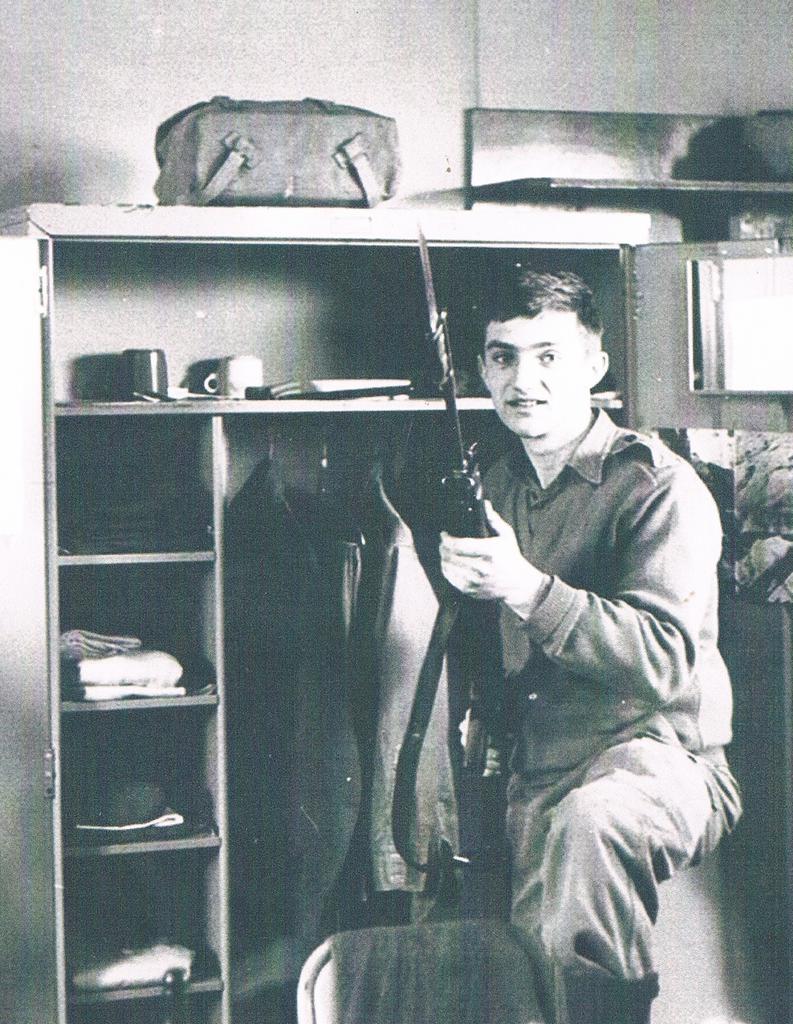 Anthony Edward Loughran Waring
Private
16 June 1969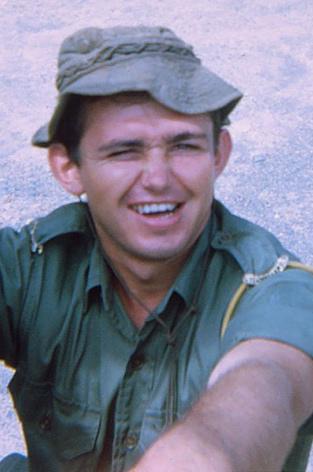 Leslie James Pettit
Private
4 July 1969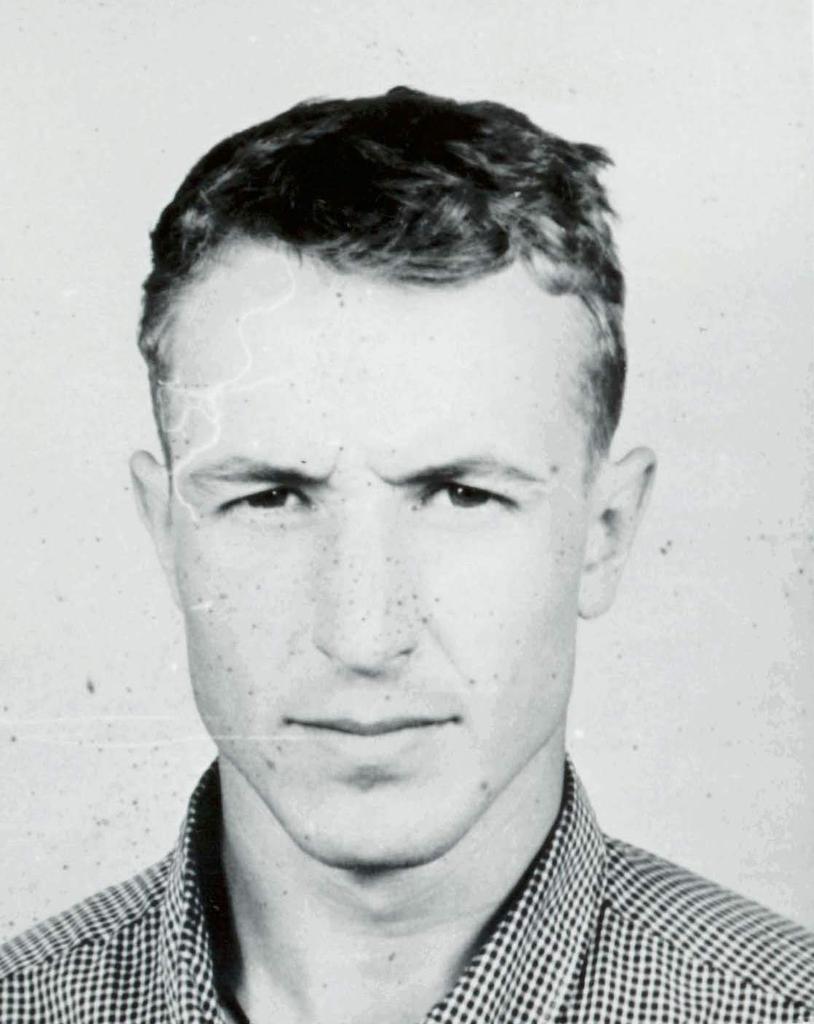 Hans Leonhard Muller
Private
5 July 1969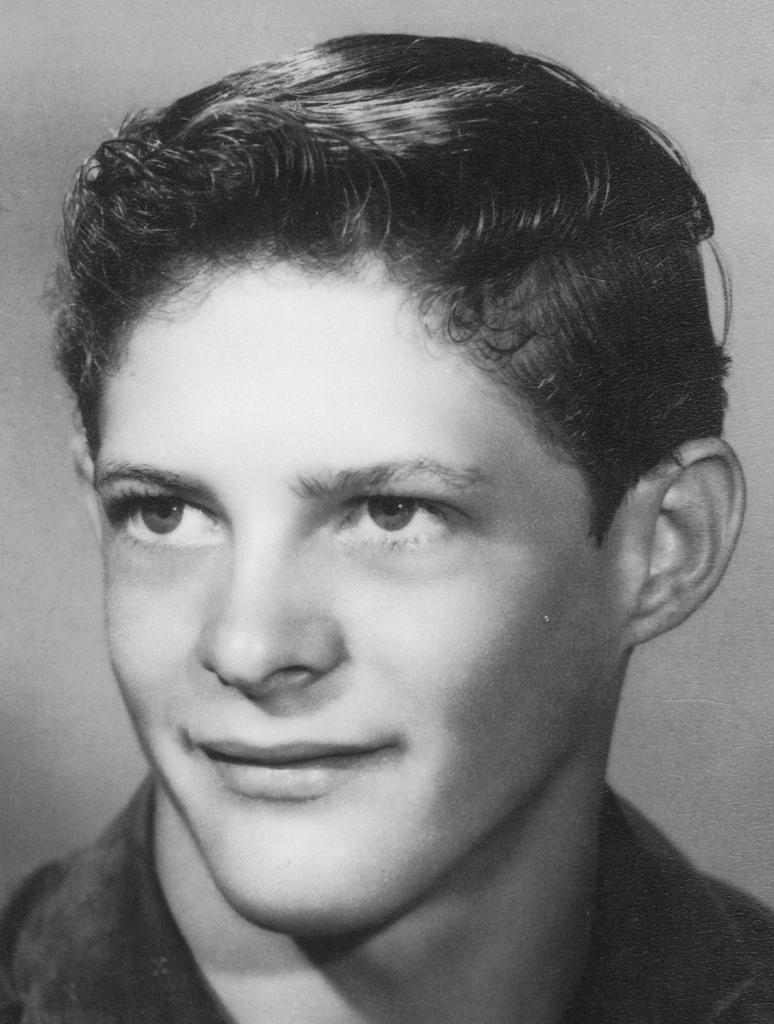 Paul Leslie Smith
Lance-Corporal
5 July 1969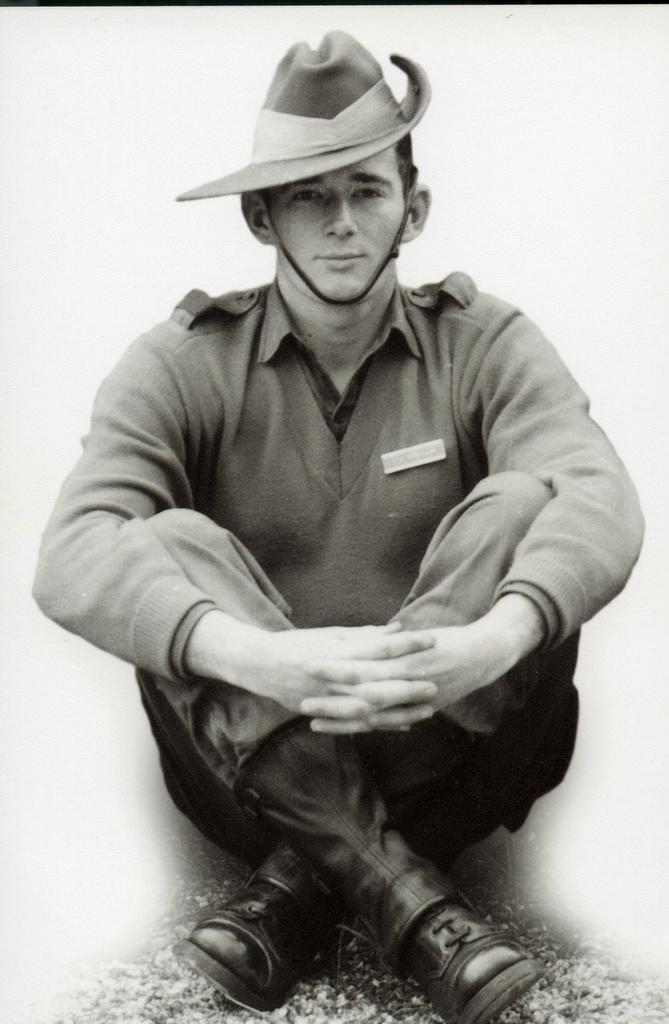 James Clyde Mcmillan
Private
31 July 1969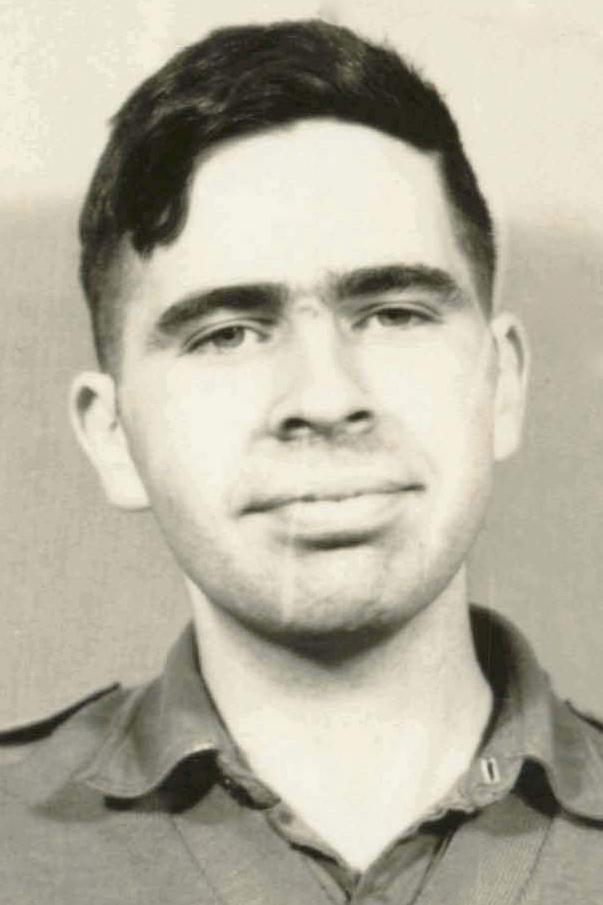 Baron Frederick Smith
Private
11 August 1969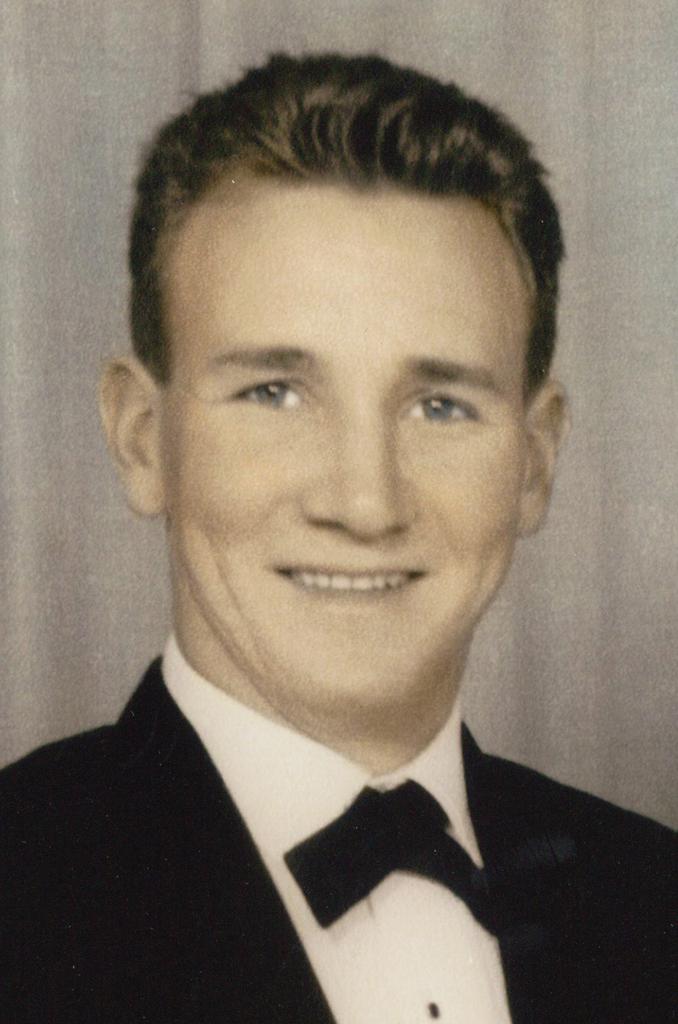 David John Banfield
Private
21 August 1969 Ronald Francis Connors
Private
25 October 1969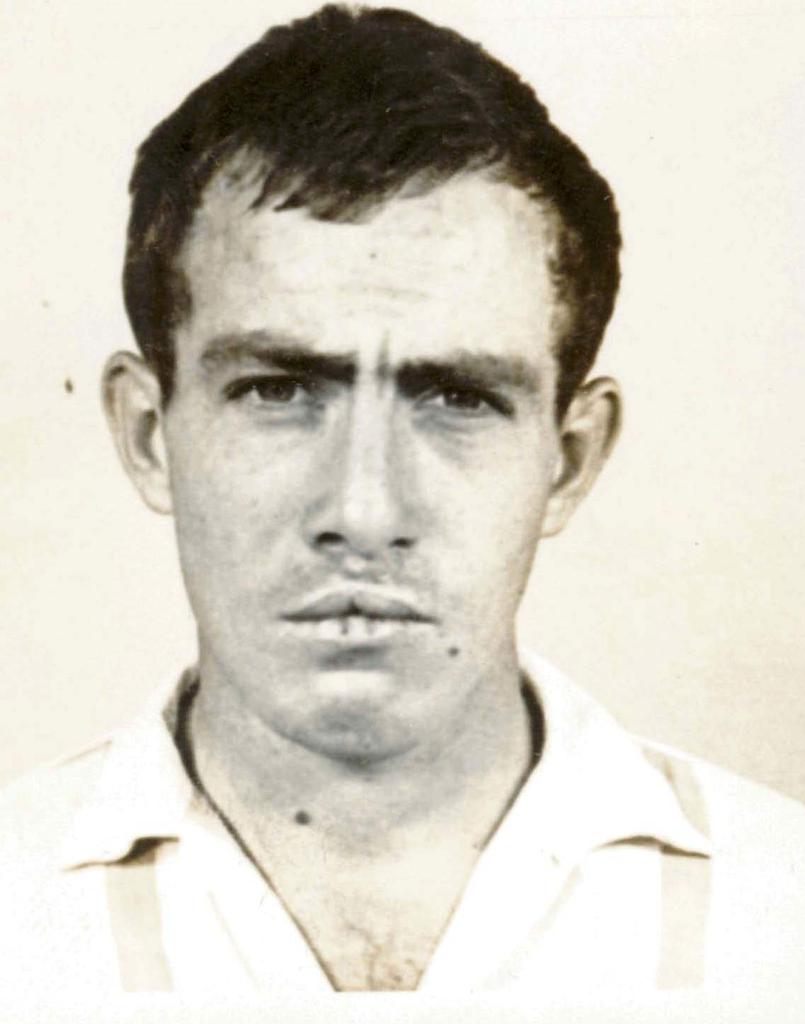 Matthew Philip Linton
Private
4 November 1969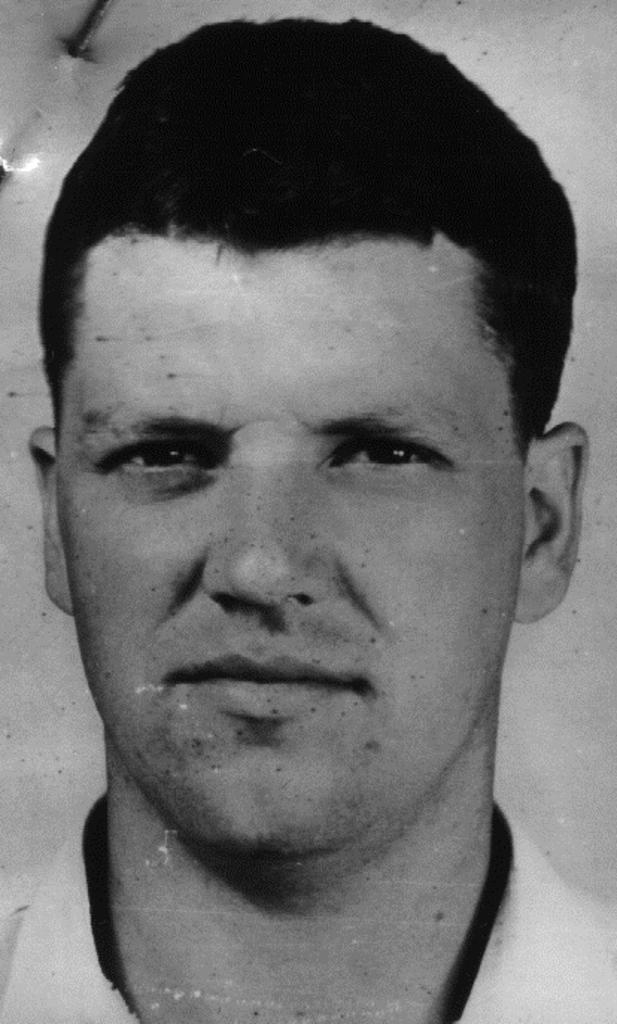 Henry Edward Suttor
(Temporary) Corporal
16 November 1969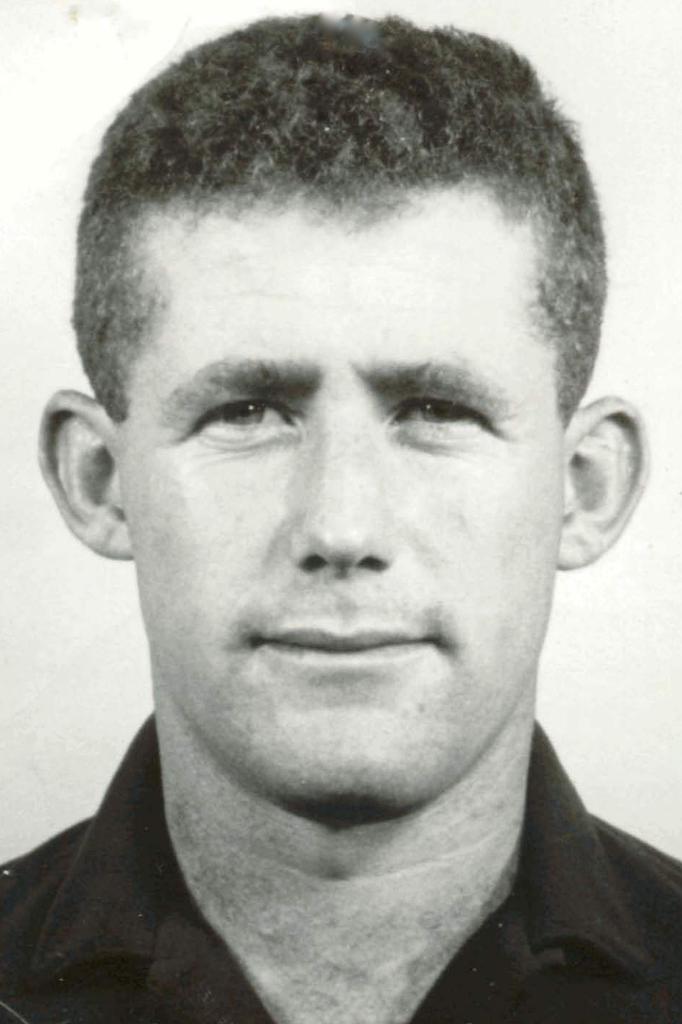 Michael Paul White
Lance-Corporal
25 November 1969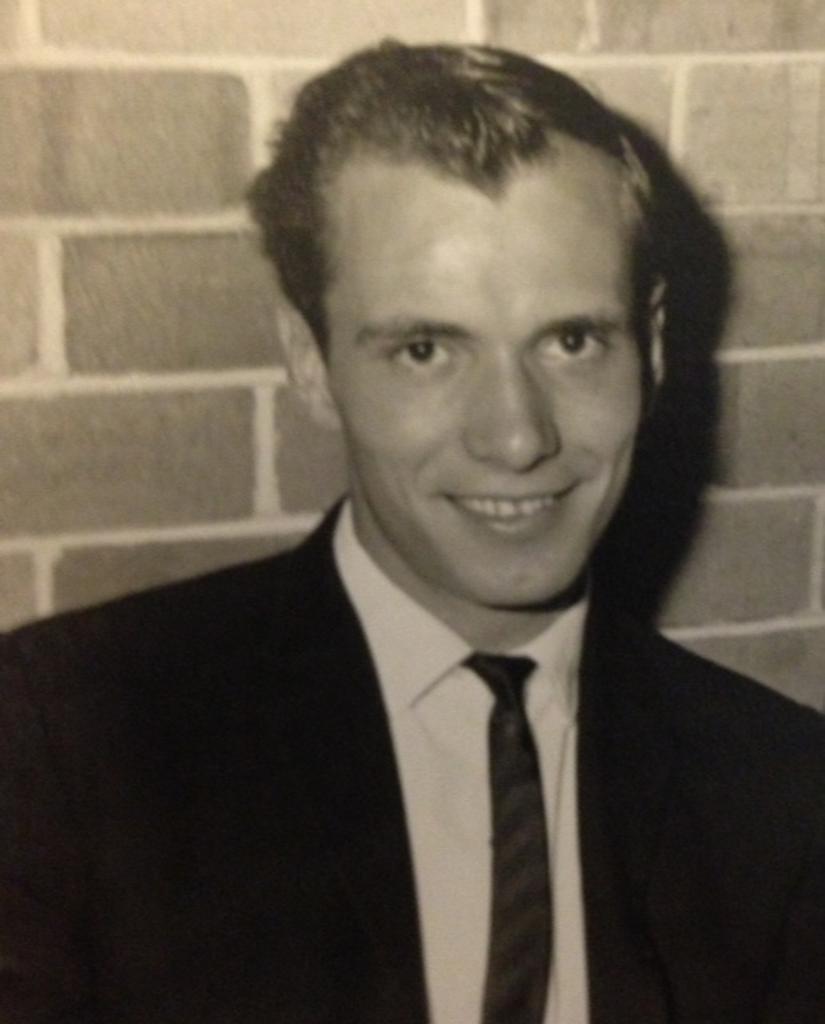 Nick John Cassano
Private
7 December 1969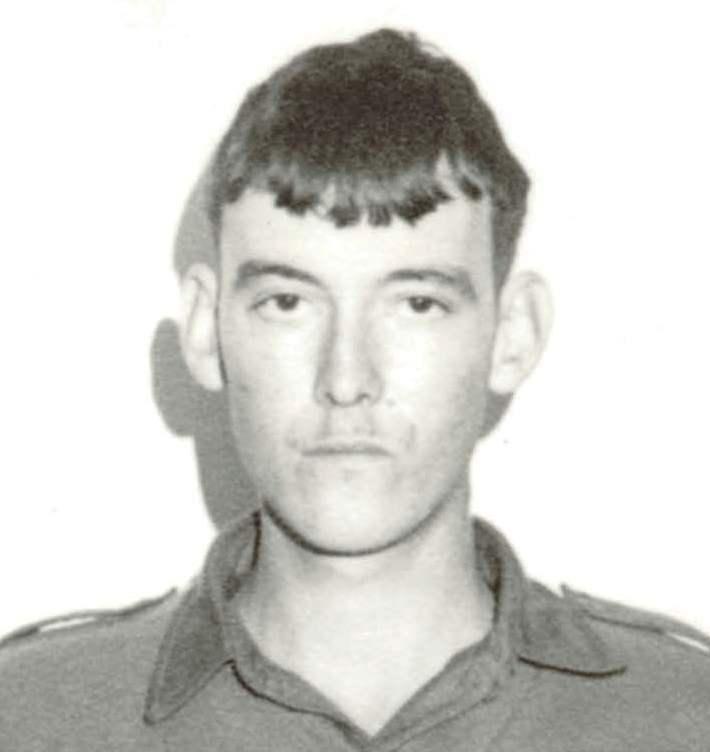 John George Stevens
Private
23 January 1970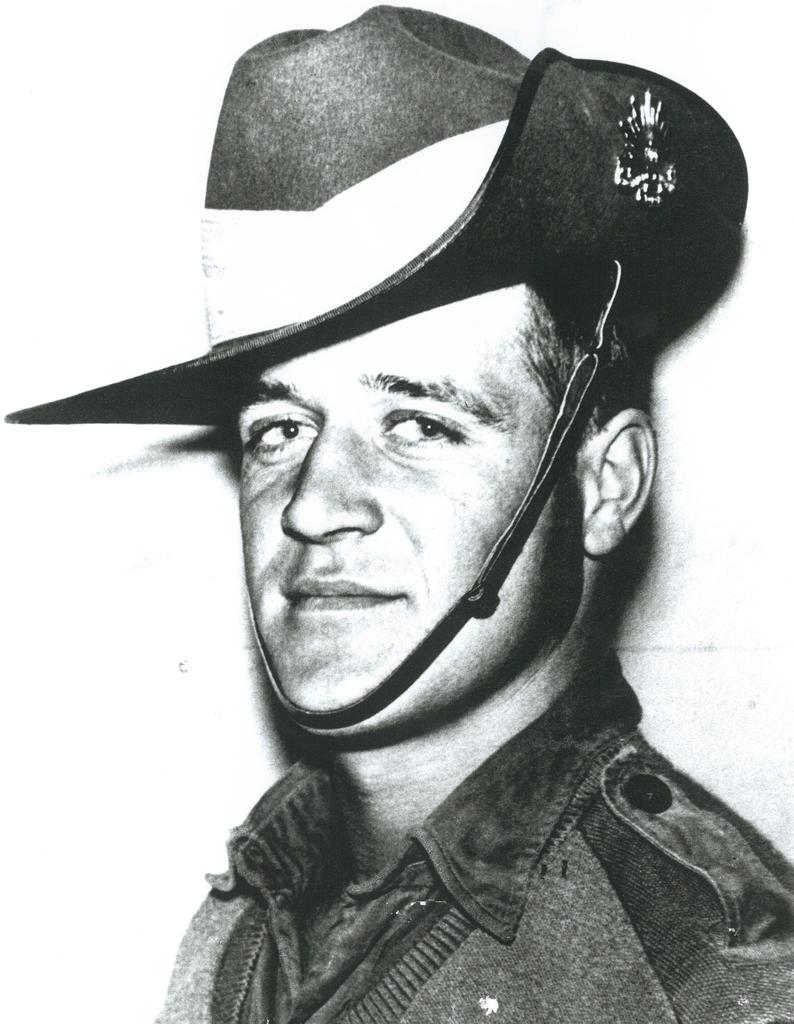 Barry John Thompson
Private
1 February 1970
Photographs #
From the site's collection: pictures linked to the unit's contacts, and others taken near them at the time. Each opens on the Battle Map.
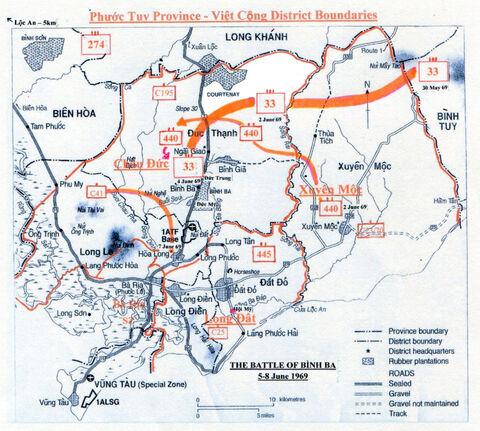 Having been ambushed at Thua Tich, D440 moves to attack Binh Ba; 33rd NVA Regiment moves south-west from Long Khanh to Binh Ba and becomes the principal … Ernie Chamberlain, 6 June 1969
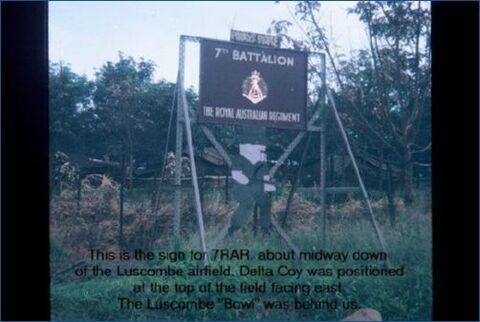 Company Sign Ern arshall, 1 July 1967
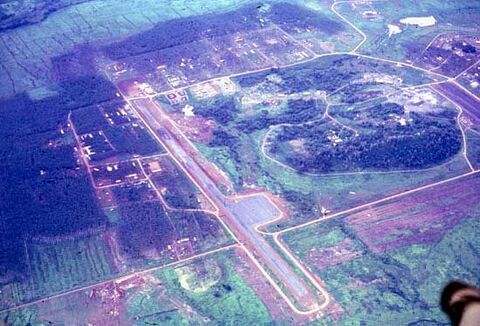 Nui Dat looking from North West to south east over Luscombe Field 1 February 1968
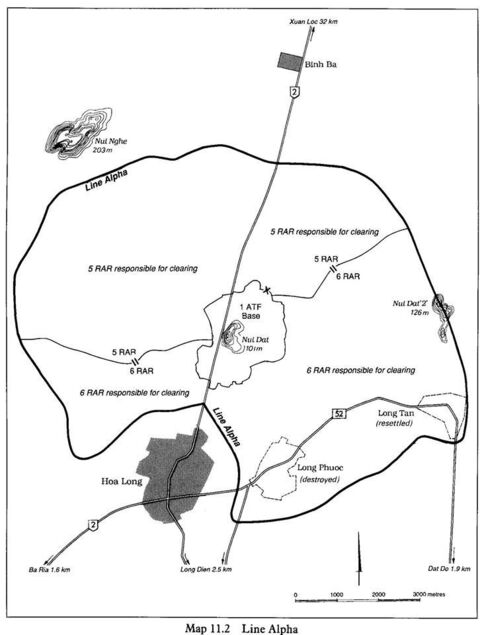 Outline of Line Alpha. This was the line that patrols could work in so they had artillery and mortar fire to support them. This was completed while Nui Dat … 1 August 1966
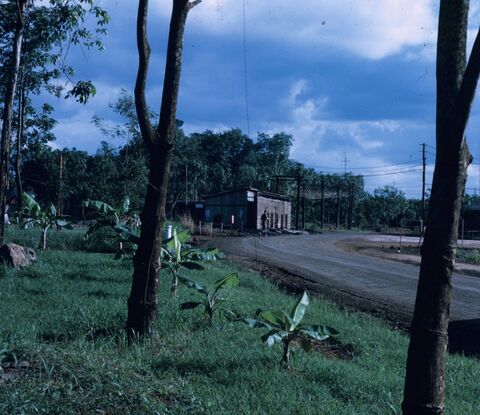 1 ATF Power plant before fire 1 March 1970
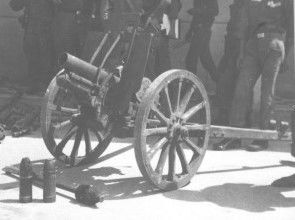 Pre-Long Tan shelling of the 1 ATF Nui Dat base by VC 70mm Japanese howitzer. VCAT, 17 August 1966
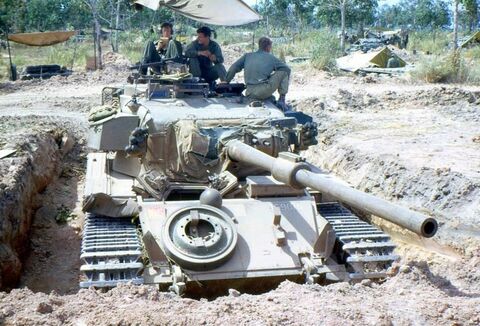 Centurion Tank ARN 169076 32Alpha at FSB Julia Dec 1968 Left to Right Tpr Don Webber, Tpr Ross Prior and Sgt Mick Rainey. Barry J Diwell, 30 November 1968
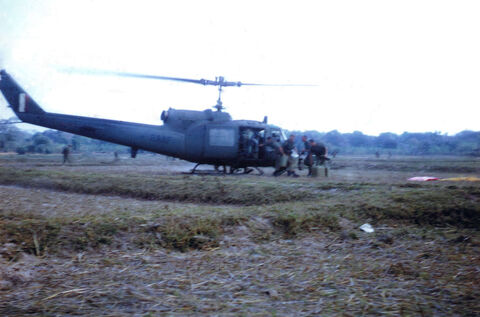 B Coy 5 R.A.R. water resupply by R.A.A.F. UH-1B Iroquois south-east Dat Do early morning 5.4.67 errol999, 5 April 1967
- B Coy 5 R.A.R. water resupply by R.A.A.F. UH-1B Iroquois south-east Dat Do early morning 5.4.67 errol999, 5 April 1967
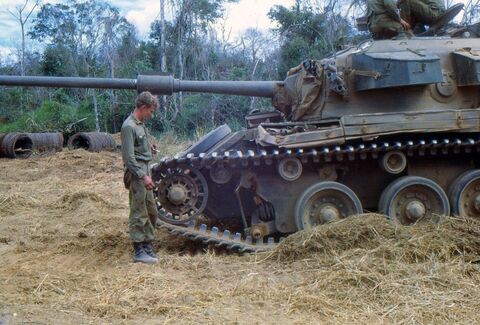 32 Charlie after having been escorted back to FSB Dyke. Temporary repairs had been made to the damaged suspension station. Rus Kiellerup is inspecting the … Duncan McIntosh, 10 December 1968
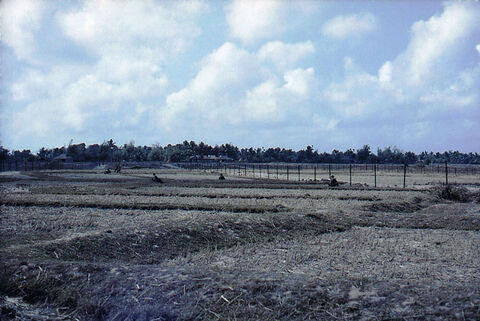 B Company 5 RAR entering fence, moving south towards Xa Phuoc Loi 29.3.67 errol999, 29 March 1967
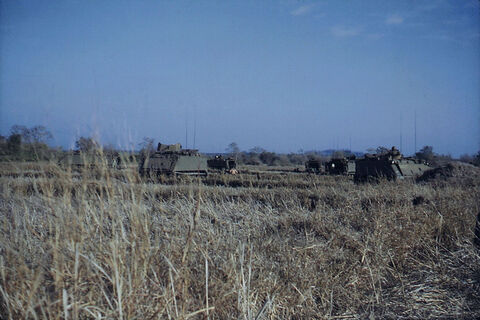 Australian M113 APCs at Laager, the crews having breakfast inside the area that was fenced immediately east of Xa Phuoc Loi. This area became part of the … errol999, 8 April 1967
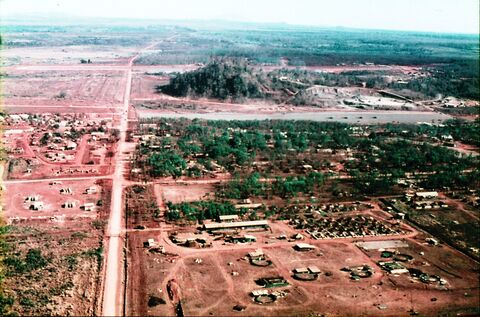 Nui Dat looking north. TBA, 1 August 1966
Sources #
- Tours and arm: the Australian War Memorial's record of the unit.
- Contacts: the Battle Map's records of 596 contacts, each report citing the archival source (most often the commanders' diaries, AWM95).
- The dead: the honour roll, with tours of duty from the nominal roll.
- Helicopter missions: No. 9 Squadron RAAF's unit history sheets (National Archives of Australia, A9186, 736), read into the Battle Map's records, with each report's summary written by an AI model (Claude).
- Summaries of the reports: written by an AI model (Claude) from the reports, and reviewed.