
Infantry · November 1969 – November 1970
8th Battalion, Royal Australian Regiment
- Helicopter missions
- 101
- Contacts
- 211
- Operations
- 15
- Dead
- 18
- Australian wounded
- 118
- Enemy killed
- 185
 View unit in Battle MapView missions in Battle Map
Year by year #
211 contacts are recorded for the unit and sub-units, from 11 November 1969 to 9 October 1970. It was the unit in contact in 204 of them, and took part in 7 led by other units.
Unit actions #
In the contacts it led, by the task the report records:
| Task | Contacts | Share |
|---|---|---|
| Ambush | 93 | 46% |
| Patrol | 54 | 26% |
| Security | 33 | 16% |
| Bunker | 7 | 3% |
| Mine incident | 4 | 2% |
| Artillery and mortar fire | 3 | 1% |
| Not recorded | 10 | 5% |
In another unit's contact in 7 contacts led by other units: 3 Cav Regt (6), 1 Fd Sqn (1).
Operations #
| Operation | Dates | Contacts | Australians killed | Enemy killed |
|---|---|---|---|---|
| Atherton | 12 December 1969 – 10 January 1970 | 47 | 1 | 26 |
| U/K | 13 December 1969 – 8 September 1970 | 8 | 0 | 0 |
| TAOR | 13 January 1970 – 27 January 1970 | 2 | 0 | 8 |
| Keperra | 27 January 1970 – 11 February 1970 | 11 | 1 | 6 |
| Bondi | 10 February 1970 | 1 | 0 | 0 |
| Hammersley | 10 February 1970 – 1 March 1970 | 30 | 11 | 42 |
| Hamilton | 6 March 1970 – 23 March 1970 | 7 | 2 | 3 |
| Phoi Hop | 8 April 1970 – 18 April 1970 | 14 | 0 | 14 |
| Concrete | 20 April 1970 – 24 April 1970 | 5 | 1 | 1 |
| Nudgee | 26 April 1970 – 5 June 1970 | 31 | 1 | 31 |
| Cung Chung | 14 June 1970 – 27 June 1970 | 4 | 1 | 7 |
| Petrie | 29 June 1970 – 12 July 1970 | 9 | 0 | 8 |
| Decade | 27 July 1970 – 29 July 1970 | 3 | 0 | 2 |
| Cung Chung 2 | 3 August 1970 – 6 September 1970 | 4 | 0 | 22 |
| Cung Chung 3 | 9 October 1970 | 1 | 0 | 4 |
Air support #
No. 9 Squadron RAAF's unit history records 101 helicopter missions flown for 8 RAR, from 10 December 1969 to 9 August 1970. 62 casualties were evacuated, as the reports count them; helicopters were fired on from the ground on 2 missions.
| Mission | Missions | Share |
|---|---|---|
| Troop Lift | 73 | 72% |
| Medevac | 22 | 22% |
| Gunship | 2 | 2% |
| Extraction | 1 | 1% |
| Other | 1 | 1% |
| Patrol Extraction | 1 | 1% |
| Resupply | 1 | 1% |
The most significant:
- 12 December 1969: medevac. 4 casualties evacuated. On the allied side: 4 wounded. Four Australians of 8 RAR wounded by a rocket-propelled grenade explosion were evacuated.
- 29 January 1970: medevac. 1 casualty evacuated. On the allied side: 1 killed. Albatross 02, flown by Pilot Officer Fogarty, flew out an Australian soldier of B Company, 8 RAR who had been killed in action.
- 30 January 1970: medevac. 12 casualties evacuated. On the allied side: 4 killed, 8 wounded. A mine incident left two Australians of A Company, 8 RAR killed and four wounded, all flown to Vampire. Albatross 02, flown by Pilot Officer Hobson, took the two dead and one wounded; Albatross 05, flown by Pilot …
- 18 February 1970: medevac. 33 casualties evacuated. Fired on from the ground. On the allied side: 33 wounded. Tanks working with 8 RAR were in a heavy contact with the enemy, and 33 wounded Australians were evacuated during the afternoon. The Bushrangers flew six hours supporting the tanks and the evacuation flights. Bushranger …
- 6 March 1970: medevac. 4 casualties evacuated. On the allied side: 1 killed, 3 wounded. Albatross 06, flown by Flight Lieutenant Riley, winched out one killed and three wounded soldiers of B Company, 8 RAR and took them to Vampire pad.
View the missions in Battle Map
Notable contacts #
11 November 1969: Patrol #
First · 8 RAR in contact
A patrol from 8 RAR was fired on with a single shot by an enemy soldier in green moving east, who withdrew towards Hoa Long. There were no Australian casualties, and enemy casualties were not known.
21 December 1969: Bunker, Operation Atherton #
Typical: bunker · 8 RAR in contact
Australian: 1 killed, 2 wounded. Enemy: 1 killed, 3 wounded.
10 Platoon, D Company, 8 RAR, came on 30 to 40 well-trained enemy in six bunkers, and an engineer was shot. With 11 Platoon's support the platoon assaulted, silenced one bunker and beat off a counter-attack in nearly three hours of fighting, with helicopter gunships and artillery in support; one Australian was shot dead and two wounded. Dusk ended the fight, and when the company returned with tanks the next day the enemy had gone, leaving one body.
13 January 1970: Ambush, Operation TAOR #
Typical: ambush · 8 RAR in contact
Enemy: 8 killed, 2 wounded.
A patrol of 10 Platoon, D Company, 8 RAR, was in ambush at a track junction near the Suoi Hoa Nuoc when the machine-gun sentry heard a radio playing and waited until it was in the killing area. Claymores, a machine-gun and grenade launchers were fired, and the killing ground was then searched with grenades in a set pattern. Eight enemy, one of them a woman, were killed and two wounded Viet Cong captured, with weapons and grenades. The patrol commander stressed keeping fire low, with interlocking arcs.
15 February 1970: Ambush, Operation Hammersley #
Significant · 8 RAR in contact
Australian: 3 wounded. Enemy: 10 killed, 22 wounded.
9 Platoon, C Company, 8 RAR, was carried by tanks to within a kilometre of a carefully chosen ambush site and slipped in unseen while the tanks made a diversion, with engineers checking the site for mines and 15 Claymores laid along the track. It let the first of four enemy groups pass, and wiped out the second and third with its Claymores; the first and fourth counter-attacked. Running low on ammunition, the platoon was supported by mortars, artillery and helicopter gunships, and within 40 minutes the tanks of 1 Armoured Regiment came back, cleared the killing ground and stayed through the night. Three Australians were wounded; ten enemy were counted dead, and 22 drag marks were found.
18 February 1970: Bunker, Operation Hammersley #
Significant · 8 RAR in contact
Australian: 2 killed, 13 wounded. Enemy: 12 killed, 10 wounded.
C Company, 8 RAR, captured a Viet Cong who said 40 enemy were in a nearby bunker system protected by mines. The company attacked with carriers of B Squadron, 3 Cavalry Regiment, and tanks of 1 Armoured Regiment; a carrier was destroyed by two rocket-propelled grenades, killing two Australians and wounding more. After air and artillery strikes a second assault led by the tanks went through the bunkers to a deep creek, but the system was also protected by an anti-tank minefield, and the force was ordered to withdraw, taking more casualties from enemy who had reoccupied the bunkers. Twelve enemy were killed, mostly by the tanks' canister and high-explosive rounds; one tank was hit eight times and kept fighting. The system was later hit by B-52 bombers.
18 February 1970: Patrol, Operation Hammersley #
Typical: patrol · 8 RAR in contact
Australian: 2 wounded. Enemy: 3 killed.
A section of B Squadron, 3 Cavalry Regiment's carriers, on a jungle trail to an ambush position, was ambushed by a rocket team that hit the leading carrier twice, piercing the hull and wounding its crew. The carriers' fire drove the enemy off, and 5 Platoon, B Company, 8 RAR, swept the area and secured a landing zone for the wounded. Three Australians were wounded. The enemy had come from a bunker system not then known; three bodies found a week later were credited to this contact.
18 February 1970: Bunker, Operation Hammersley #
Significant · 8 RAR in contact
Australian: 8 wounded. Enemy: 6 killed.
After C Company, 8 RAR's heavy fight that day, B Company was rushed by armoured personnel carrier into blocking positions. 4 Platoon had just dismounted when a section came under heavy rifle fire and rocket-propelled grenades; one carrier was holed and a tank hit. Sweeping forward, the platoon saw Claymore wires ten metres into the jungle and was pulled back. Eight Australians were wounded, all by rockets; six enemy were killed, three of whose bodies were found a week later.
25 February 1970: Security, Operation Hammersley #
Typical: security · 8 RAR in contact
Australian: 1 killed, 2 wounded.
A Company, 8 RAR, set off what was probably an M16 mine in the south-east of the Long Hai Hills, killing one Australian and wounding two.
28 February 1970: Patrol, Operation Hammersley #
Significant · 8 RAR in contact
Australian: 7 killed, 13 wounded.
1 Platoon, A Company, 8 RAR, was moving carefully to an ambush site in the heavily mined south-east of the Long Hai Hills, with engineers clearing the way. It had reached the site, and was gathered around platoon headquarters, when one of the engineers set off an M16 'jumping jack' mine. Seven or eight Australians were killed and thirteen wounded.
6 March 1970: Contact, Operation Hamilton #
Significant · 8 RAR in contact
Australian: 2 killed, 6 wounded.
B Company, 8 RAR, found an old, rusty M16 mine in the jungle six kilometres south of Xuyen Moc. While it was being destroyed the platoon deployed into all-round defence to look at some old bunkers, and someone set off another. Two Australians were killed and six wounded.
20 April 1970: Transport, Operation Concrete #
Significant · In 3 Cav Regt's contact
Australian: 1 killed, 10 wounded.
An armoured personnel carrier of 3 Troop, B Squadron, 3 Cavalry Regiment, carrying troops of 5 Platoon, B Company, 8 RAR, on a track off Route 23, hit a 40-pound anti-tank mine. The carrier was badly damaged; one crewman was killed and about ten of those aboard wounded, one of them an engineer.
3 May 1970: Ambush, Operation Nudgee #
Significant · 8 RAR in contact
Australian: 6 wounded. Enemy: 2 killed, 5 wounded.
3 Platoon, A Company, 8 RAR, on its way to an ambush position, met 40 to 50 Viet Cong armed with rifles, rockets, machine-guns and grenade launchers. The platoon formed a firm base, and the enemy attacked from both flanks, closing to within ten metres to recover their dead and wounded. After an hour 3 Troop, B Squadron, 3 Cavalry Regiment, arrived, and ten minutes later the enemy broke contact. Six Australians were wounded by rockets and grenades; two enemy bodies were found, and intelligence later put the enemy dead at over 50.
12 August 1970: Ambush, Operation Cung Chung 2 #
Significant · 8 RAR in contact
Australian: 1 wounded. Enemy: 19 killed, 6 wounded.
8 Platoon, C Company, 8 RAR, ambushing Route 2 near Hoa Long, watched 50 to 60 Viet Cong move carefully into the village and moved its ambush to catch them on their way out. They came back at about 3 am, less alert, carrying packs, and headed straight for one group, so the ambush was sprung early; Claymores and four machine-guns in crossfire killed or wounded the whole first group, and the second withdrew with the wounded. 1 Troop, B Squadron, 3 Cavalry Regiment, came up quickly, drove off a counter-attack and ran down more of the enemy hiding in scrub. Nineteen Viet Cong were killed and six captured, with a large haul of weapons, food and supplies; one Australian was wounded.
9 October 1970: Ambush, Operation Cung Chung 3 #
Last · 8 RAR in contact
Enemy: 4 killed, 1 wounded.
9 Platoon, C Company, 8 RAR, ambushed six Viet Cong moving along Route 2. The ambush was sprung with Claymores, three of which failed, and machine-guns, and kept up until illumination from a spotter aircraft and carrier support arrived. Four enemy were killed and one North Vietnamese soldier was wounded and captured.
Sub-units #
A Company #
42 contacts, 3 December 1969 to 3 August 1970; 11 operations. Australian: 10 killed, 36 wounded. Enemy: 32 killed, 31 wounded.
Actions: ambush 57%, patrol 24%, security 12%, bunker 5%, mine incident 2%.
Most significant contacts:
- 28 February 1970: patrol, Operation Hammersley. Australian: 7 killed, 13 wounded.
- 3 May 1970: ambush, Operation Nudgee. Australian: 6 wounded. Enemy: 2 killed.
- 14 May 1970: ambush, Operation Nudgee. Enemy: 7 killed.
B Company #
48 contacts, 15 December 1969 to 8 September 1970; 10 operations. Australian: 4 killed, 33 wounded. Enemy: 49 killed, 22 wounded.
Actions: ambush 43%, patrol 38%, security 6%, mine incident 4%, bunker 2%.
Most significant contacts:
- 18 February 1970: bunker, Operation Hammersley. Australian: 8 wounded. Enemy: 6 killed.
- 6 March 1970: mine incident, Operation Hamilton. Australian: 2 killed, 6 wounded.
- 20 April 1970: transport, Operation Concrete. Australian: 1 killed, 10 wounded.
C Company #
57 contacts, 14 December 1969 to 9 October 1970; 12 operations. Australian: 4 killed, 35 wounded. Enemy: 71 killed, 51 wounded.
Actions: ambush 40%, security 25%, patrol 21%, bunker 6%, artillery and mortar fire 2%.
Most significant contacts:
- 15 February 1970: ambush, Operation Hammersley. Australian: 3 wounded. Enemy: 10 killed.
- 18 February 1970: bunker, Operation Hammersley. Australian: 2 killed, 13 wounded. Enemy: 12 killed.
- 12 August 1970: ambush, Operation Cung Chung 2. Australian: 1 wounded. Enemy: 19 killed.
D Company #
40 contacts, 13 December 1969 to 18 August 1970; 9 operations. Australian: 1 killed, 14 wounded. Enemy: 26 killed, 14 wounded.
Actions: ambush 51%, patrol 23%, security 13%, bunker 3%, mine incident 3%.
Most significant contacts:
- 21 December 1969: bunker, Operation Atherton. Australian: 1 killed, 2 wounded. Enemy: 1 killed.
- 13 January 1970: ambush, Operation TAOR. Enemy: 8 killed.
- 18 February 1970: contact, Operation Hammersley. Australian: 7 wounded.
Roll of honour #

The unit's 18 dead on the honour roll: those on a tour with the unit when they died, and reinforcements killed in the unit's contacts. Each opens their entry on the honour roll.
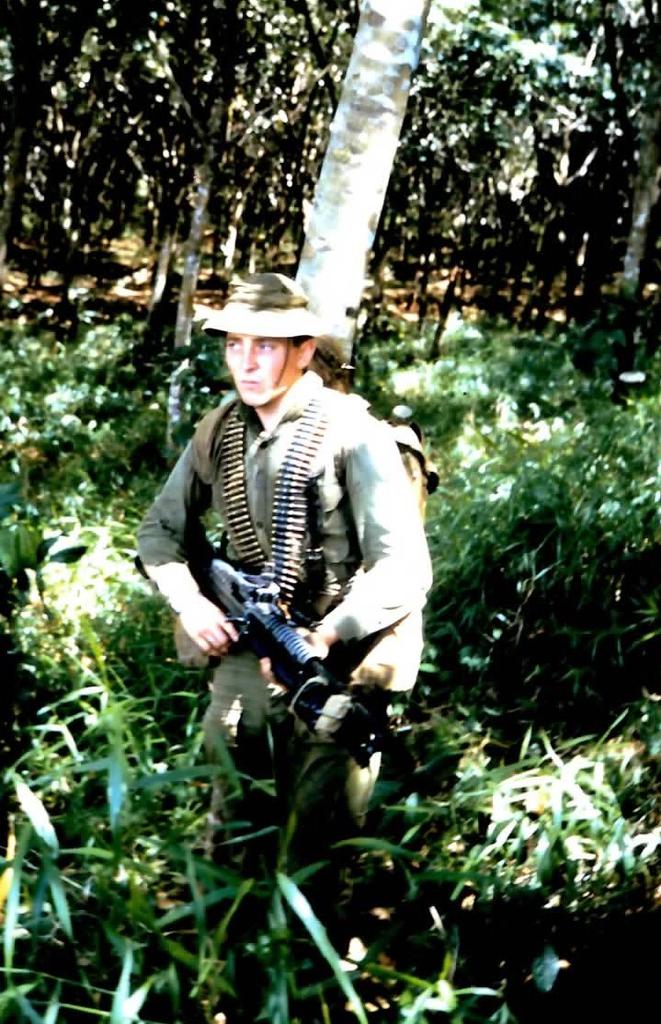 Eric George Gould
Private
21 December 1969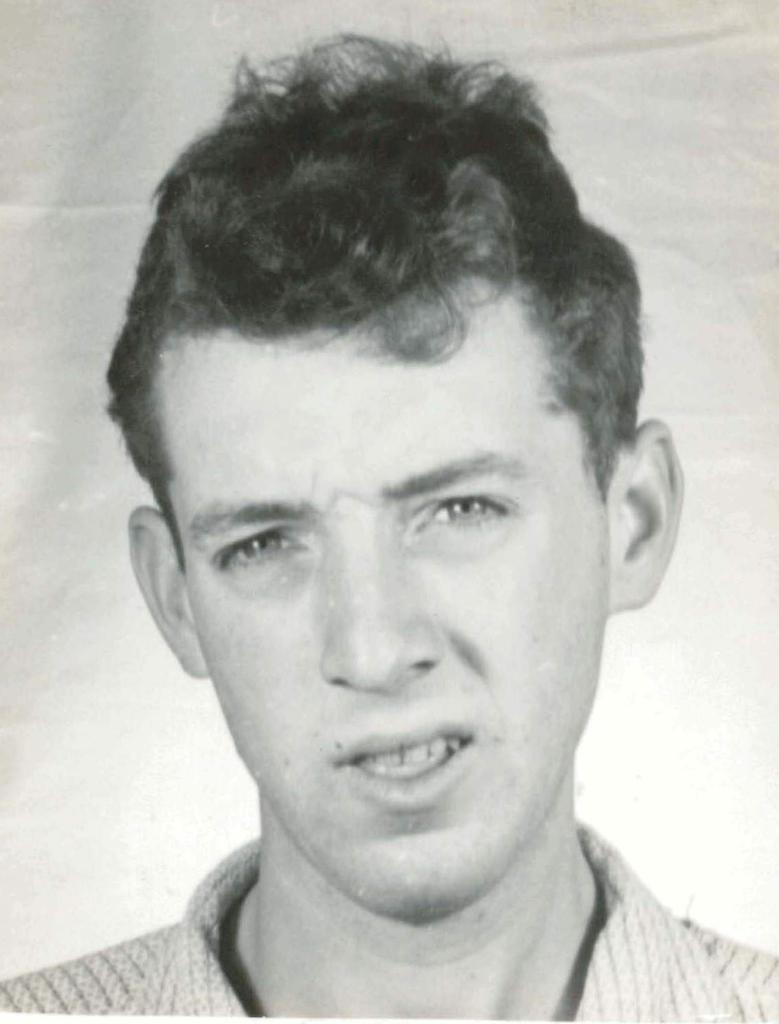 Victor Neil Wagstaff
Private
29 January 1970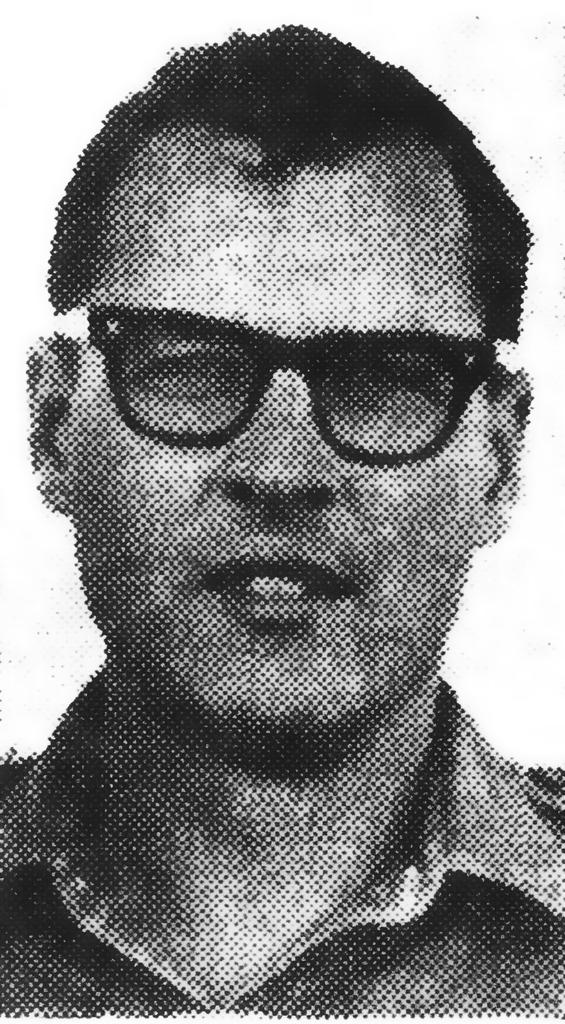 Douglas Alfred Baker
Sergeant
25 February 1970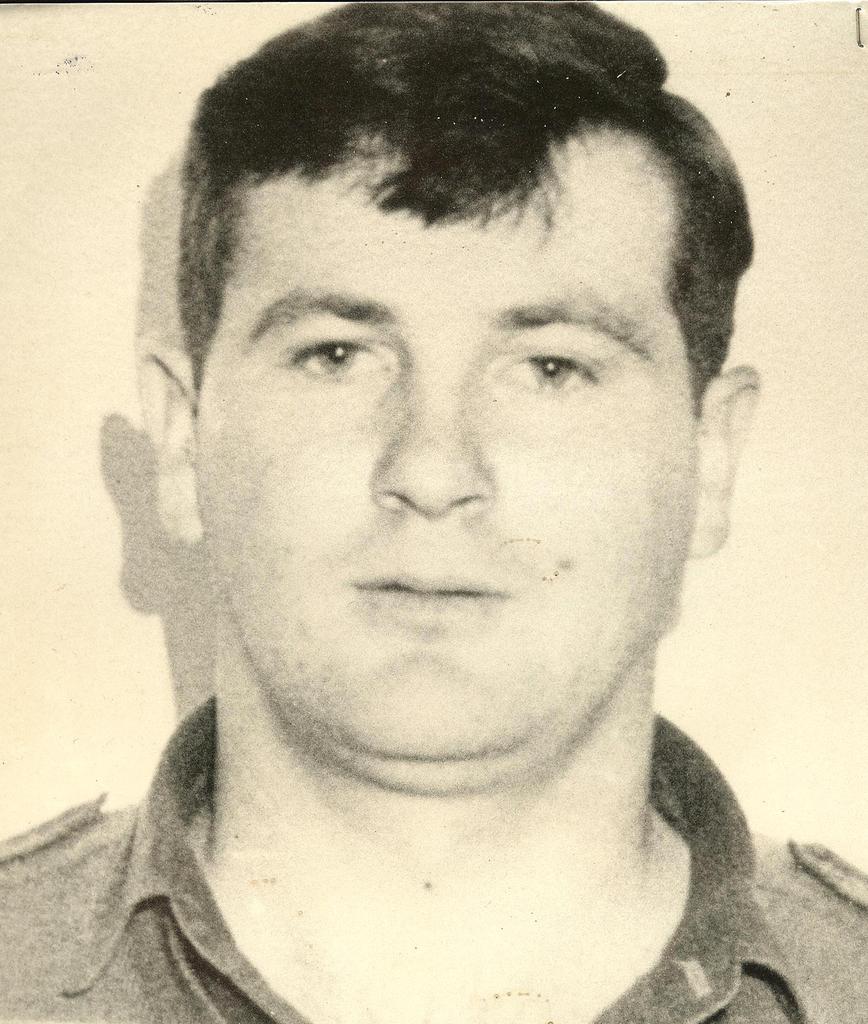 Barry John Munday
Private
28 February 1970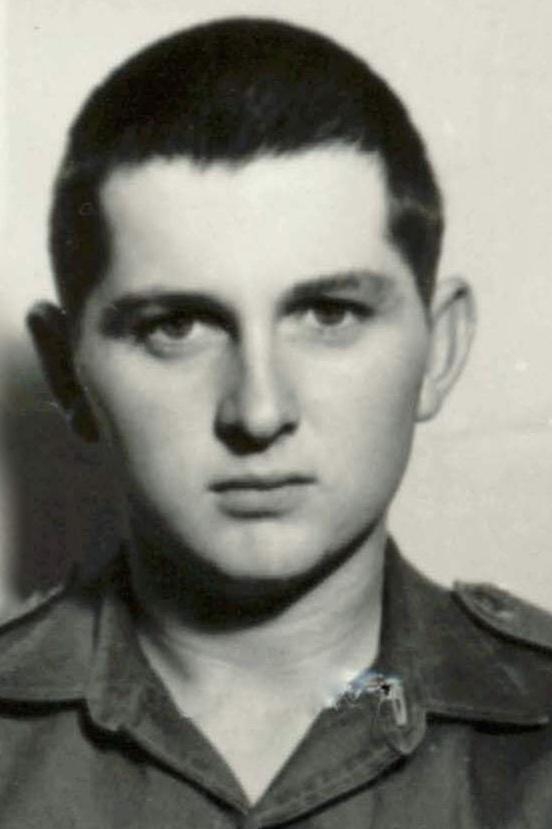 Garry Maxwell West
Private
28 February 1970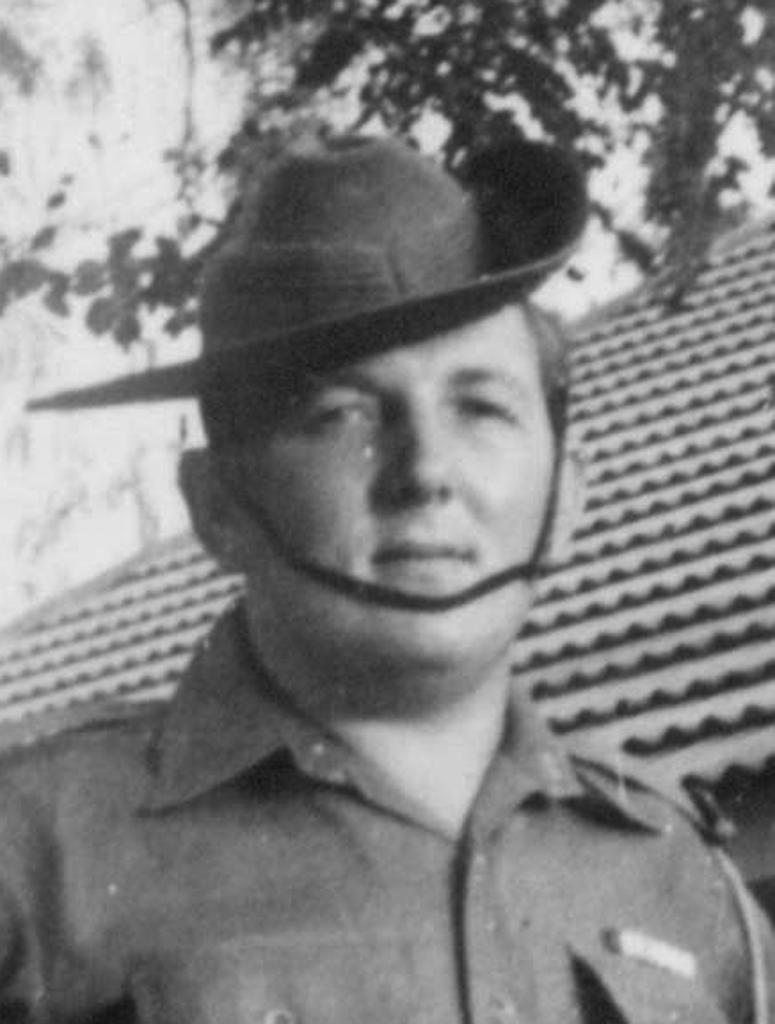 James Joseph Barrett
(Temporary) Corporal
28 February 1970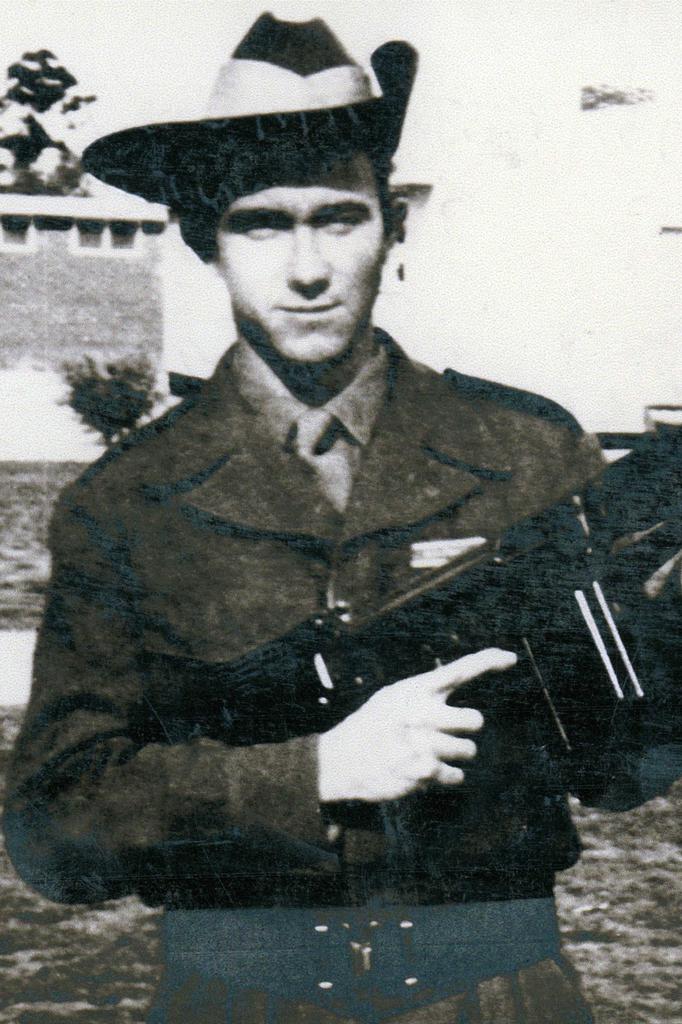 Larry James Maclennan
Private
28 February 1970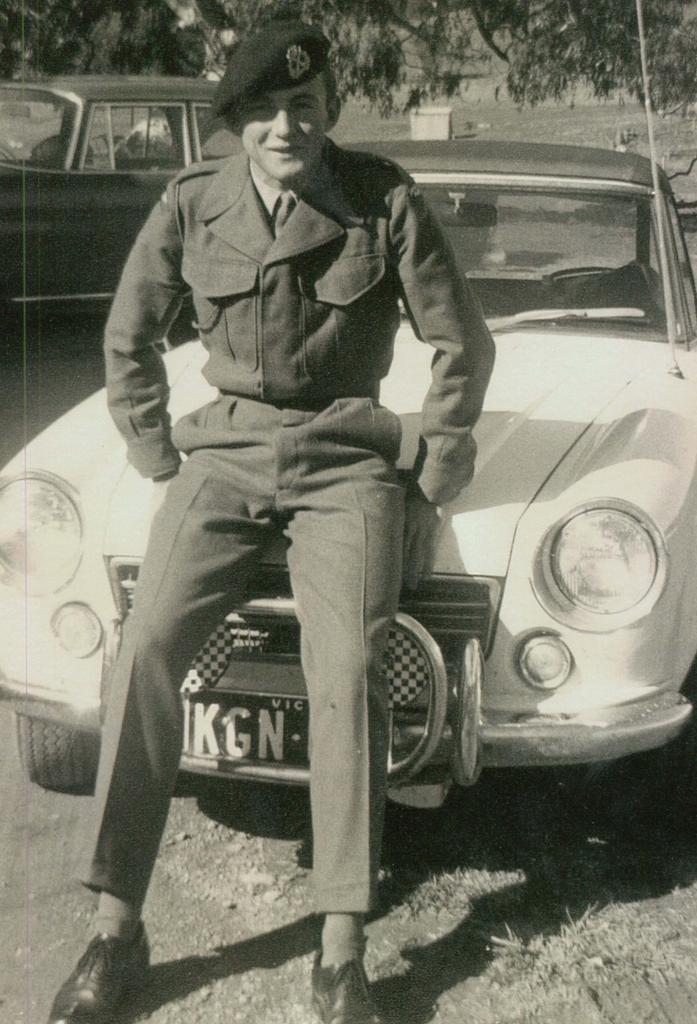 Philip Mackay Richter
Private
28 February 1970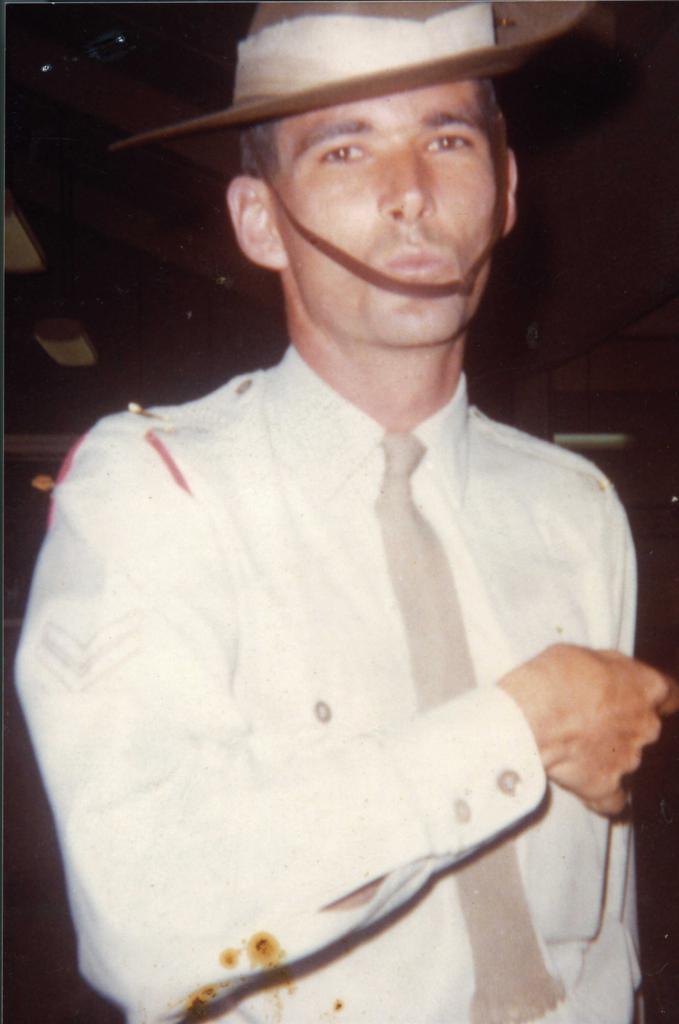 Robert James Jackson
Corporal
28 February 1970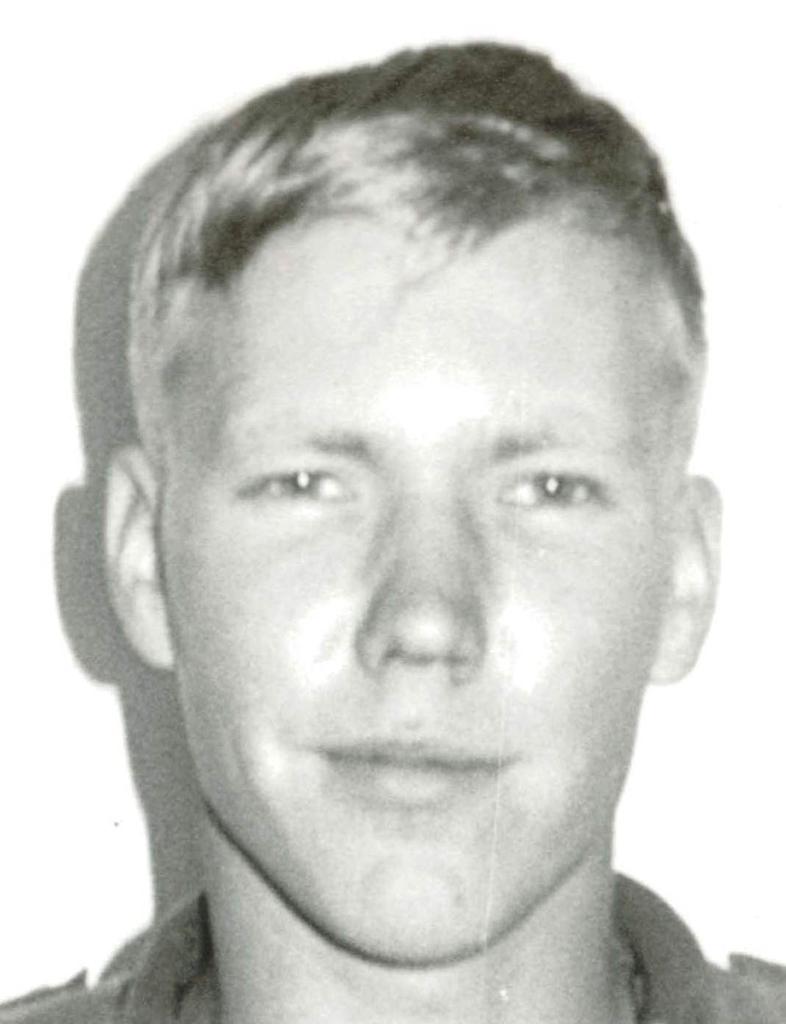 Timo Esko Pesonen
Private
28 February 1970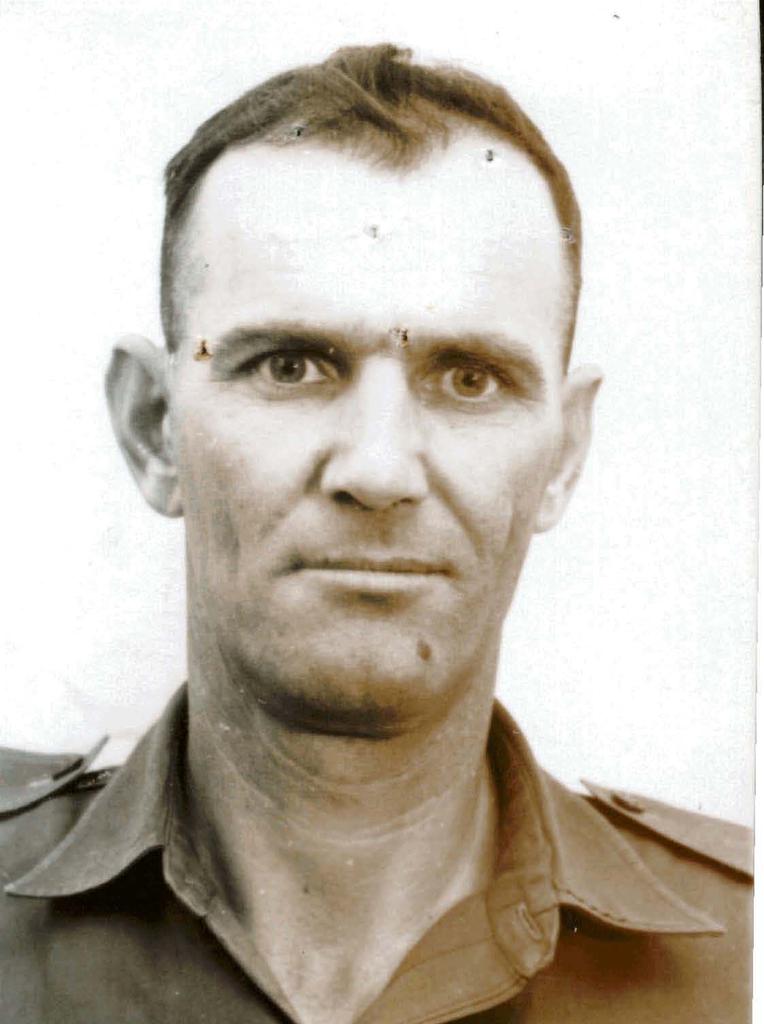 William Joseph Hoban
Sergeant
28 February 1970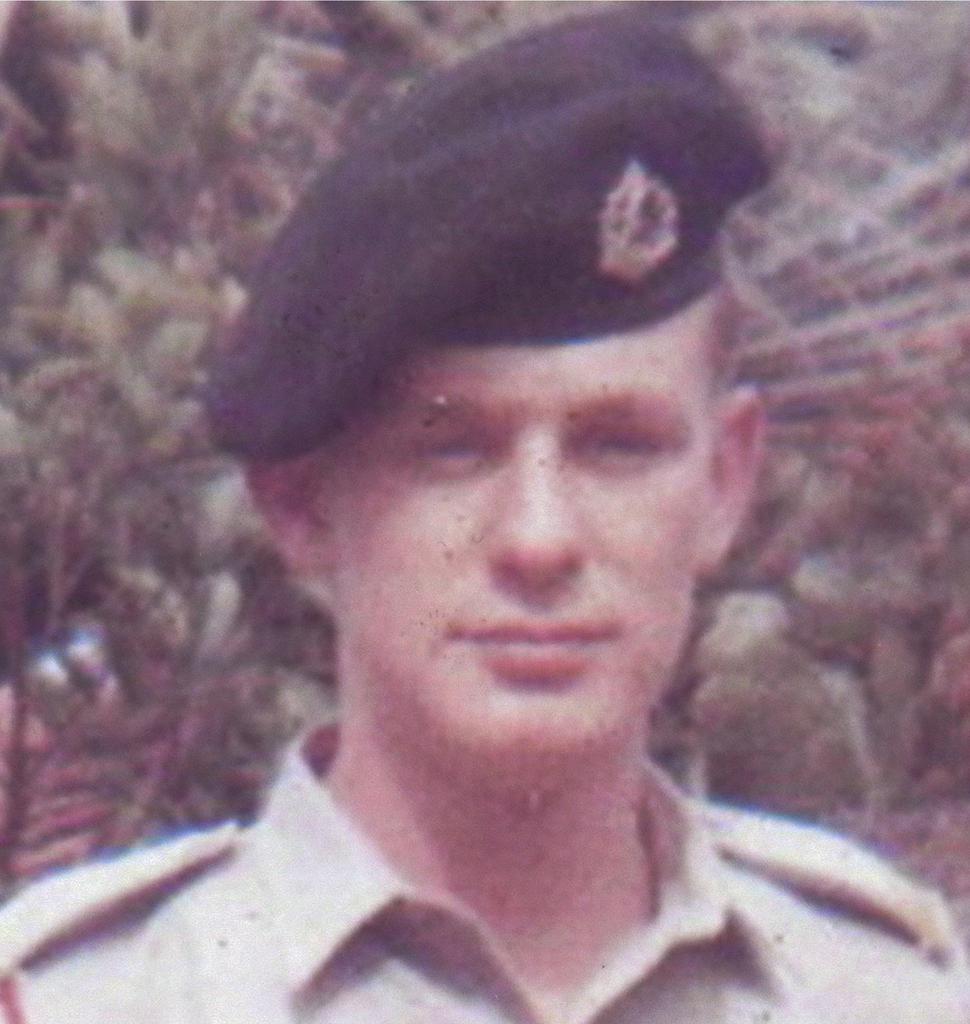 John Bressington
Lance-Corporal
6 March 1970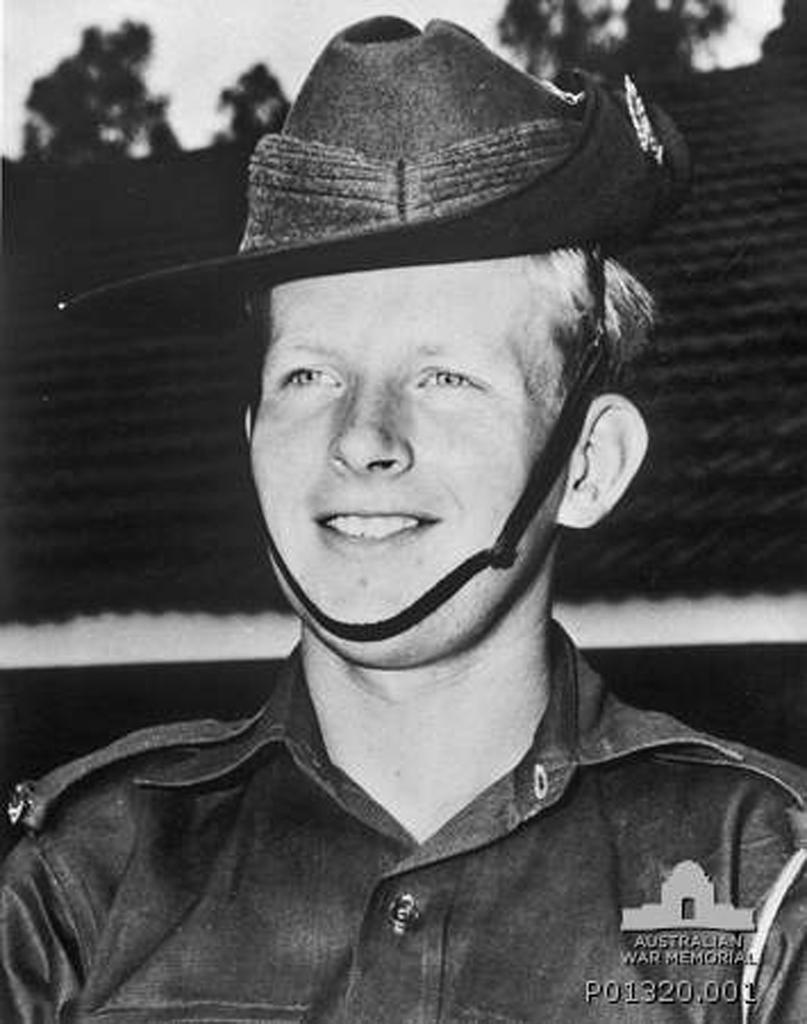 Stephen James O'dal
Private
6 March 1970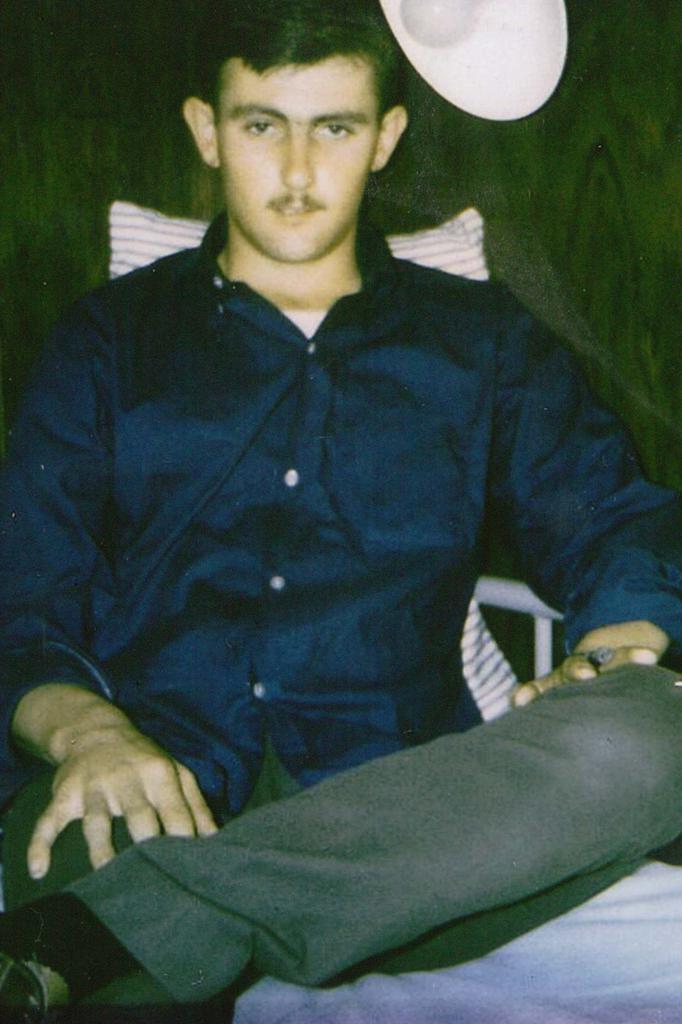 Daryl Poulson
Private
3 April 1970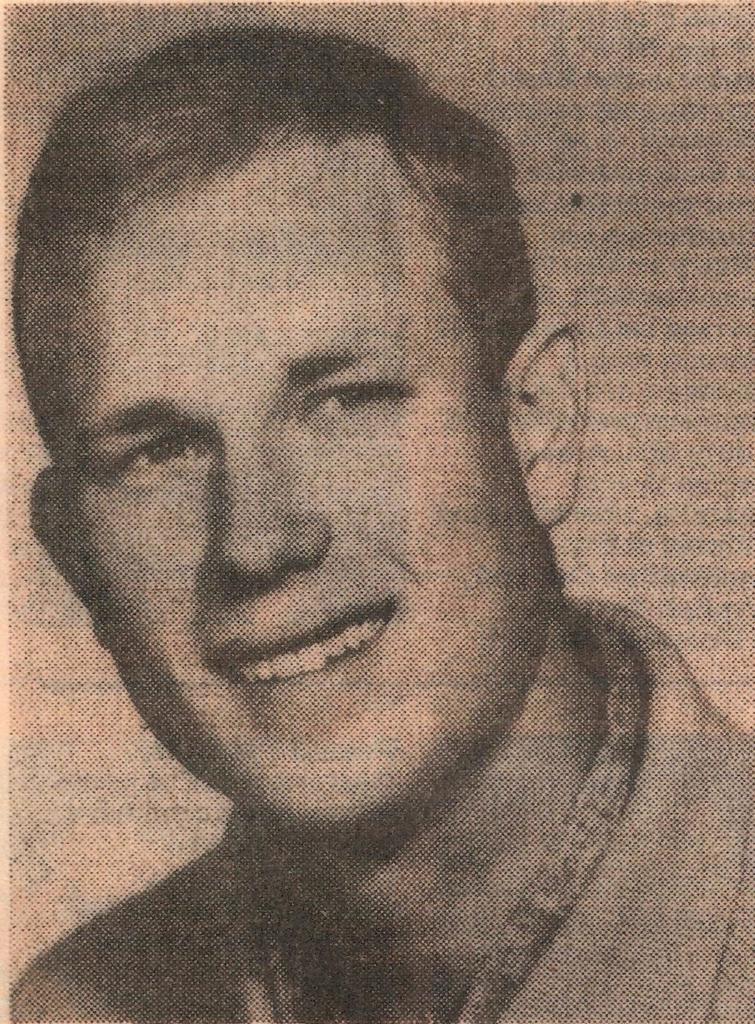 John Leonard Mcquat
Private
30 April 1970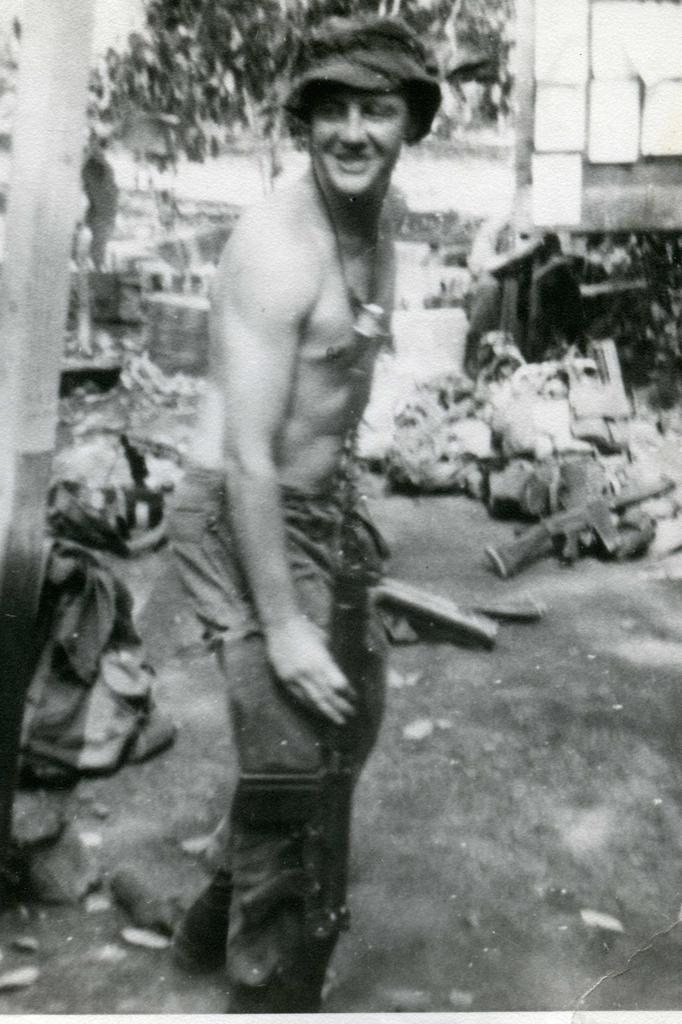 Philip Earle
Private
1 May 1970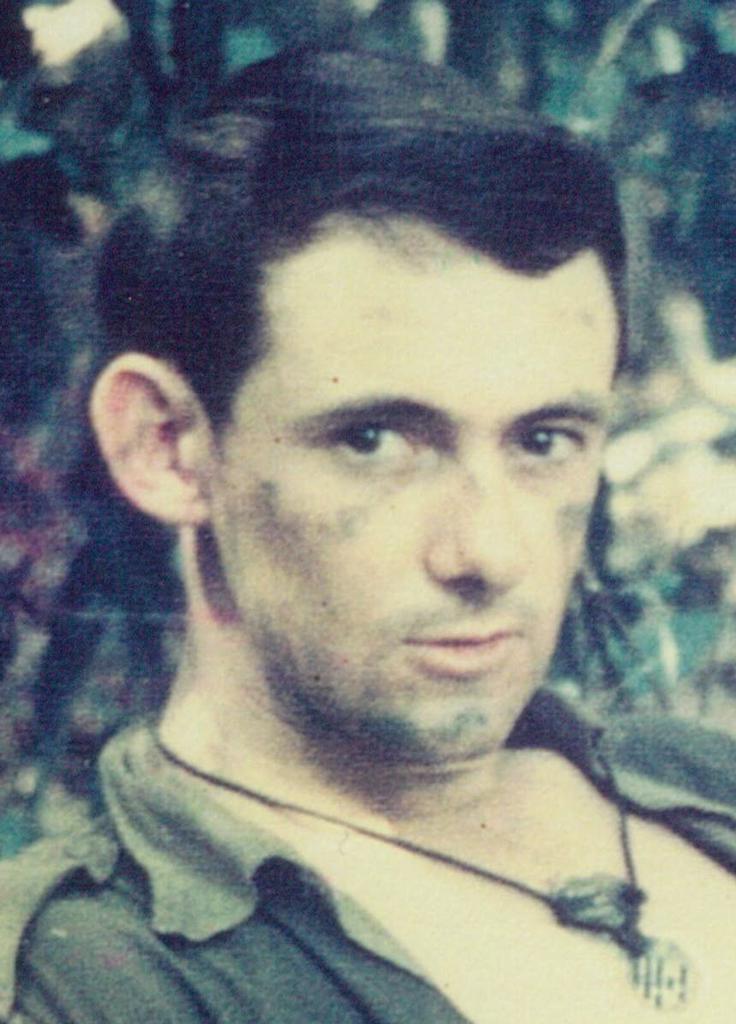 Phillip Raymond Goody
Lance-Corporal
1 May 1970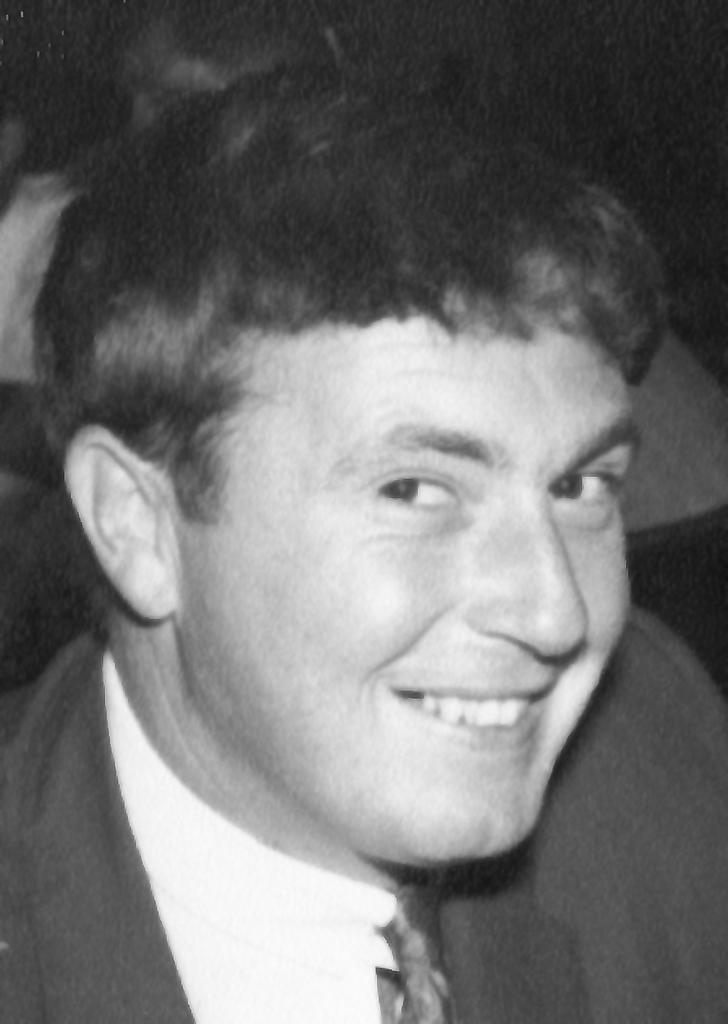 Alan William Ahearn
Sergeant
14 May 1970
Photographs #
From the site's collection: pictures linked to the unit's contacts, and others taken near them at the time. Each opens on the Battle Map.
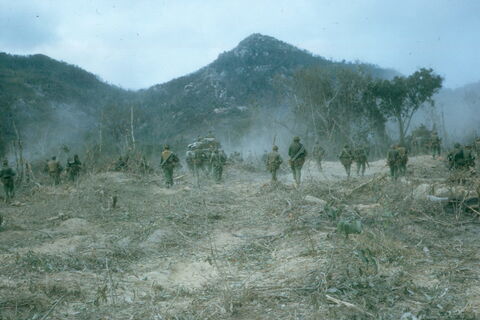 C Company 8 RAR assaulting into an enemy bunker system in the foothills of the Long Hais (Minh Dam Secret Zone) shortly after a B52 strike had hit the system. Rod Simpson, 22 February 1970
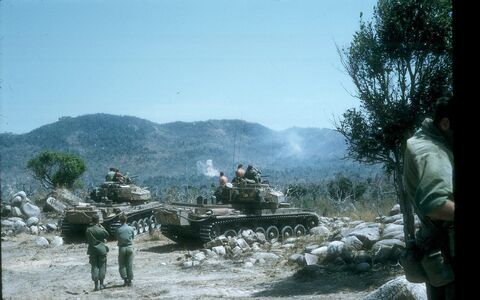 8 RAR troops and Centurion tanks of 1 Armd Regt at Night Defensive Position Isa in February 1970. The tanks are firing into the hills. Rod Simpson
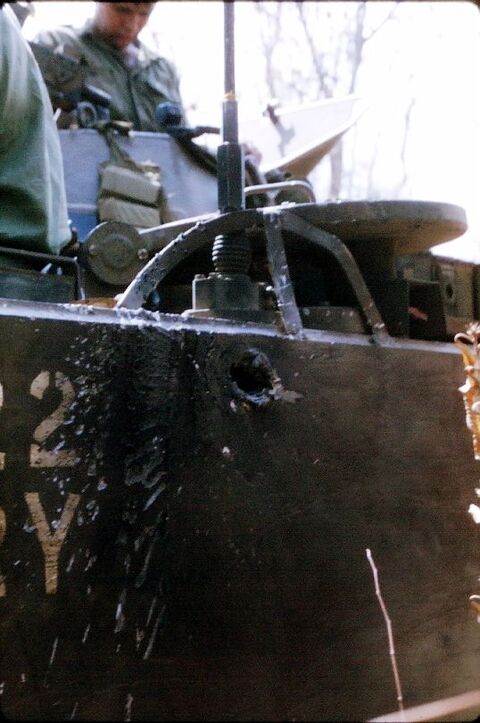 RPG Damage to 22A and Crew being Casvaced Paul Davison, 18 February 1970
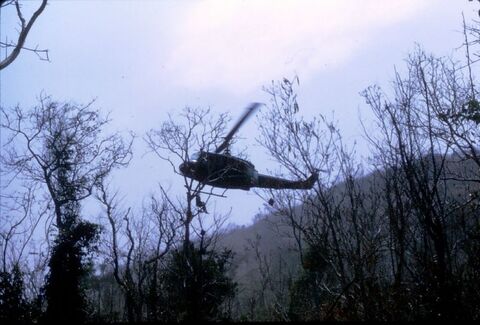 RPG Damage to 22A and Crew being Casvaced Paul Davison, 18 February 1970
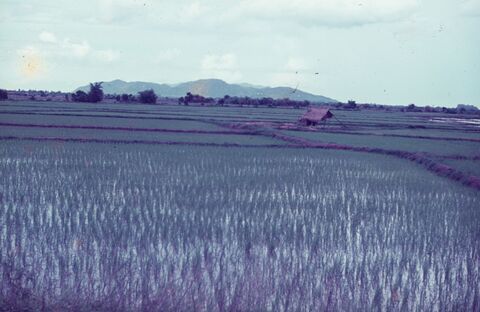 Looking west from Hoa Long road to Baria over half grown rice paddies 6 May 1970
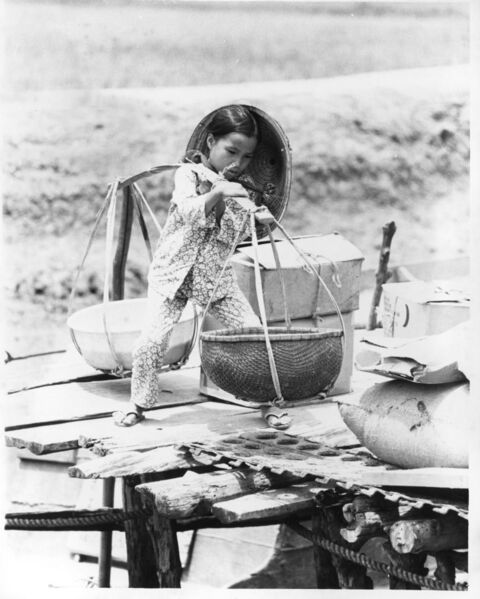 Child carrying salt from salt pans and boats on the road from Long Hai village to Baria (Provincial Capital). 10 June 1970
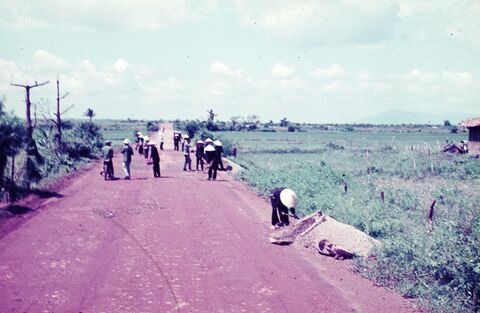 Repairing road east of Hoa Long village 6 May 1970
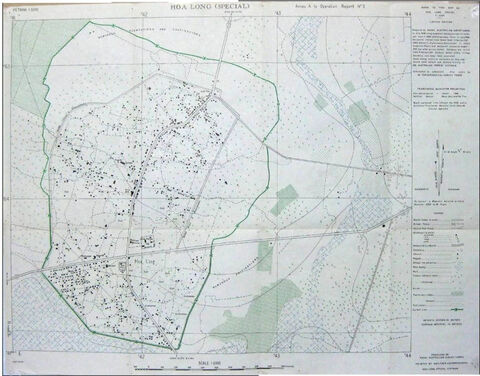 Hoa Long Map Ern Marshall rasurvey
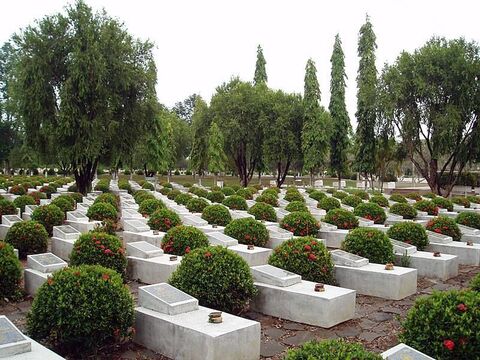 Vietnamese communist graves in the Baria cemetery. There is no commemoration for Vietnamese who died fighting for America and her allies. Ern Marshall Bernie Weisz
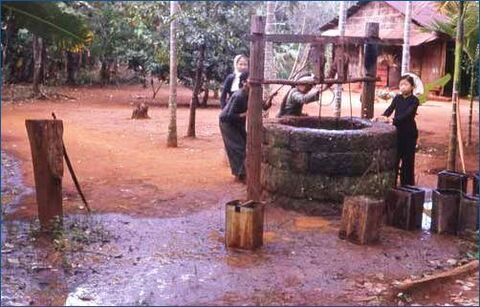 Hoa Long Village well Ern Marshall Tony Templeton
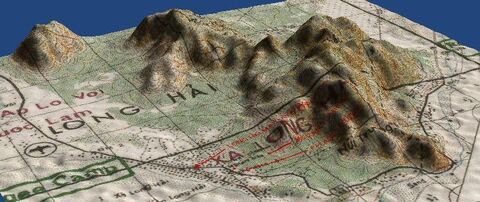 One of two very rare 3D maps of the Long Hai\'s Ern Marshall Oziexplorer
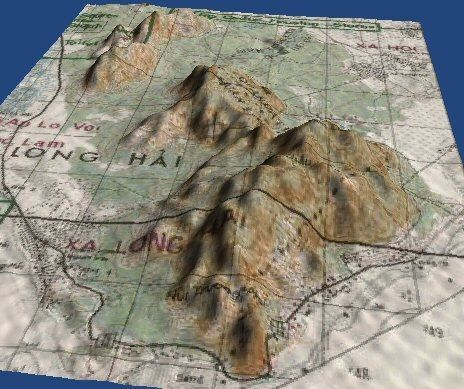 Number two of the Long Hai\'s in 3D Ern Marshall Oziexplorer
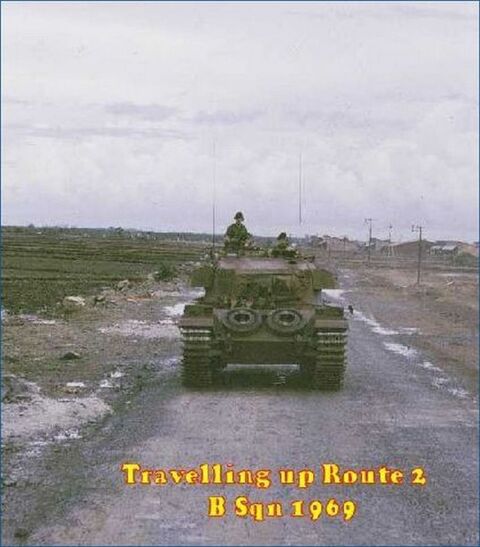 Tanks of B Squadron on Route 2 in 1969 Ern Marshall Barry Hodges
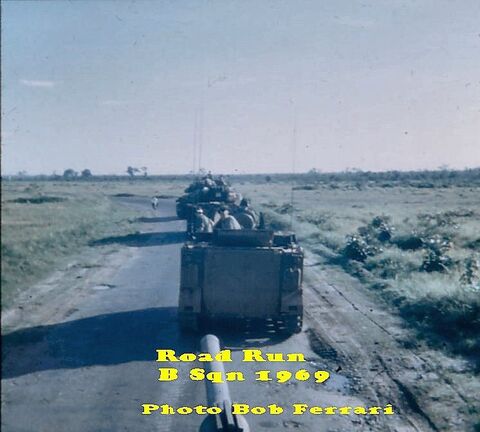 B Sqn on the road Ern Marshall Bob Ferrari
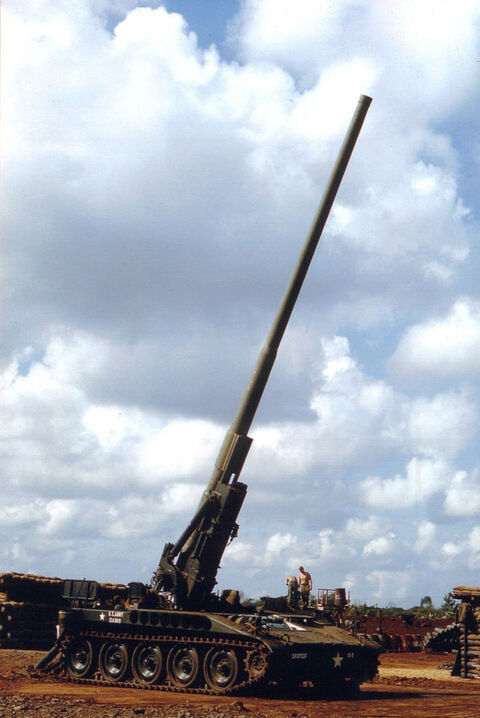 U.S. Army M 107 175mm SP Gun Battery A 1st Battalion 83rd Artillery Regiment at Camp Everett 1 ATF 4.67 errol999
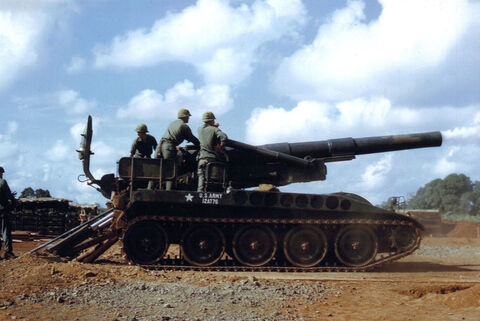 U.S. Army M 107 175mm SP Gun Battery A 1st Battalion 83rd Artillery Regt Camp Everett 1 ATF Nui Dat 4.67 errol999
Sources #
- Tours and arm: the Australian War Memorial's record of the unit.
- Contacts: the Battle Map's records of 211 contacts, each report citing the archival source (most often the commanders' diaries, AWM95).
- The dead: the honour roll, with tours of duty from the nominal roll.
- Helicopter missions: No. 9 Squadron RAAF's unit history sheets (National Archives of Australia, A9186, 736), read into the Battle Map's records, with each report's summary written by an AI model (Claude).
- Summaries of the reports: written by an AI model (Claude) from the reports, and reviewed.